BLOG
From Vacation to Video
A Creative Journey in Media Production
Posted on July 17, 2025, by Peter Loomis
Introduction
Summer is here—and for many, that means vacation. For me, a shift in travel plans became an unexpected opportunity: a “staycation” in San Francisco that transformed into a deep dive into comprehensive media production. What began as simply documenting family moments evolved into a methodical exploration of creative storytelling, technical workflows and the art of content creation.
This post outlines the 10 key steps I've refined through my personal journey, from initial planning to final sharing. It's about learning to see differently, thinking more like a filmmaker—even for personal projects—and leveraging new tools to craft better, richer stories from my experiences.
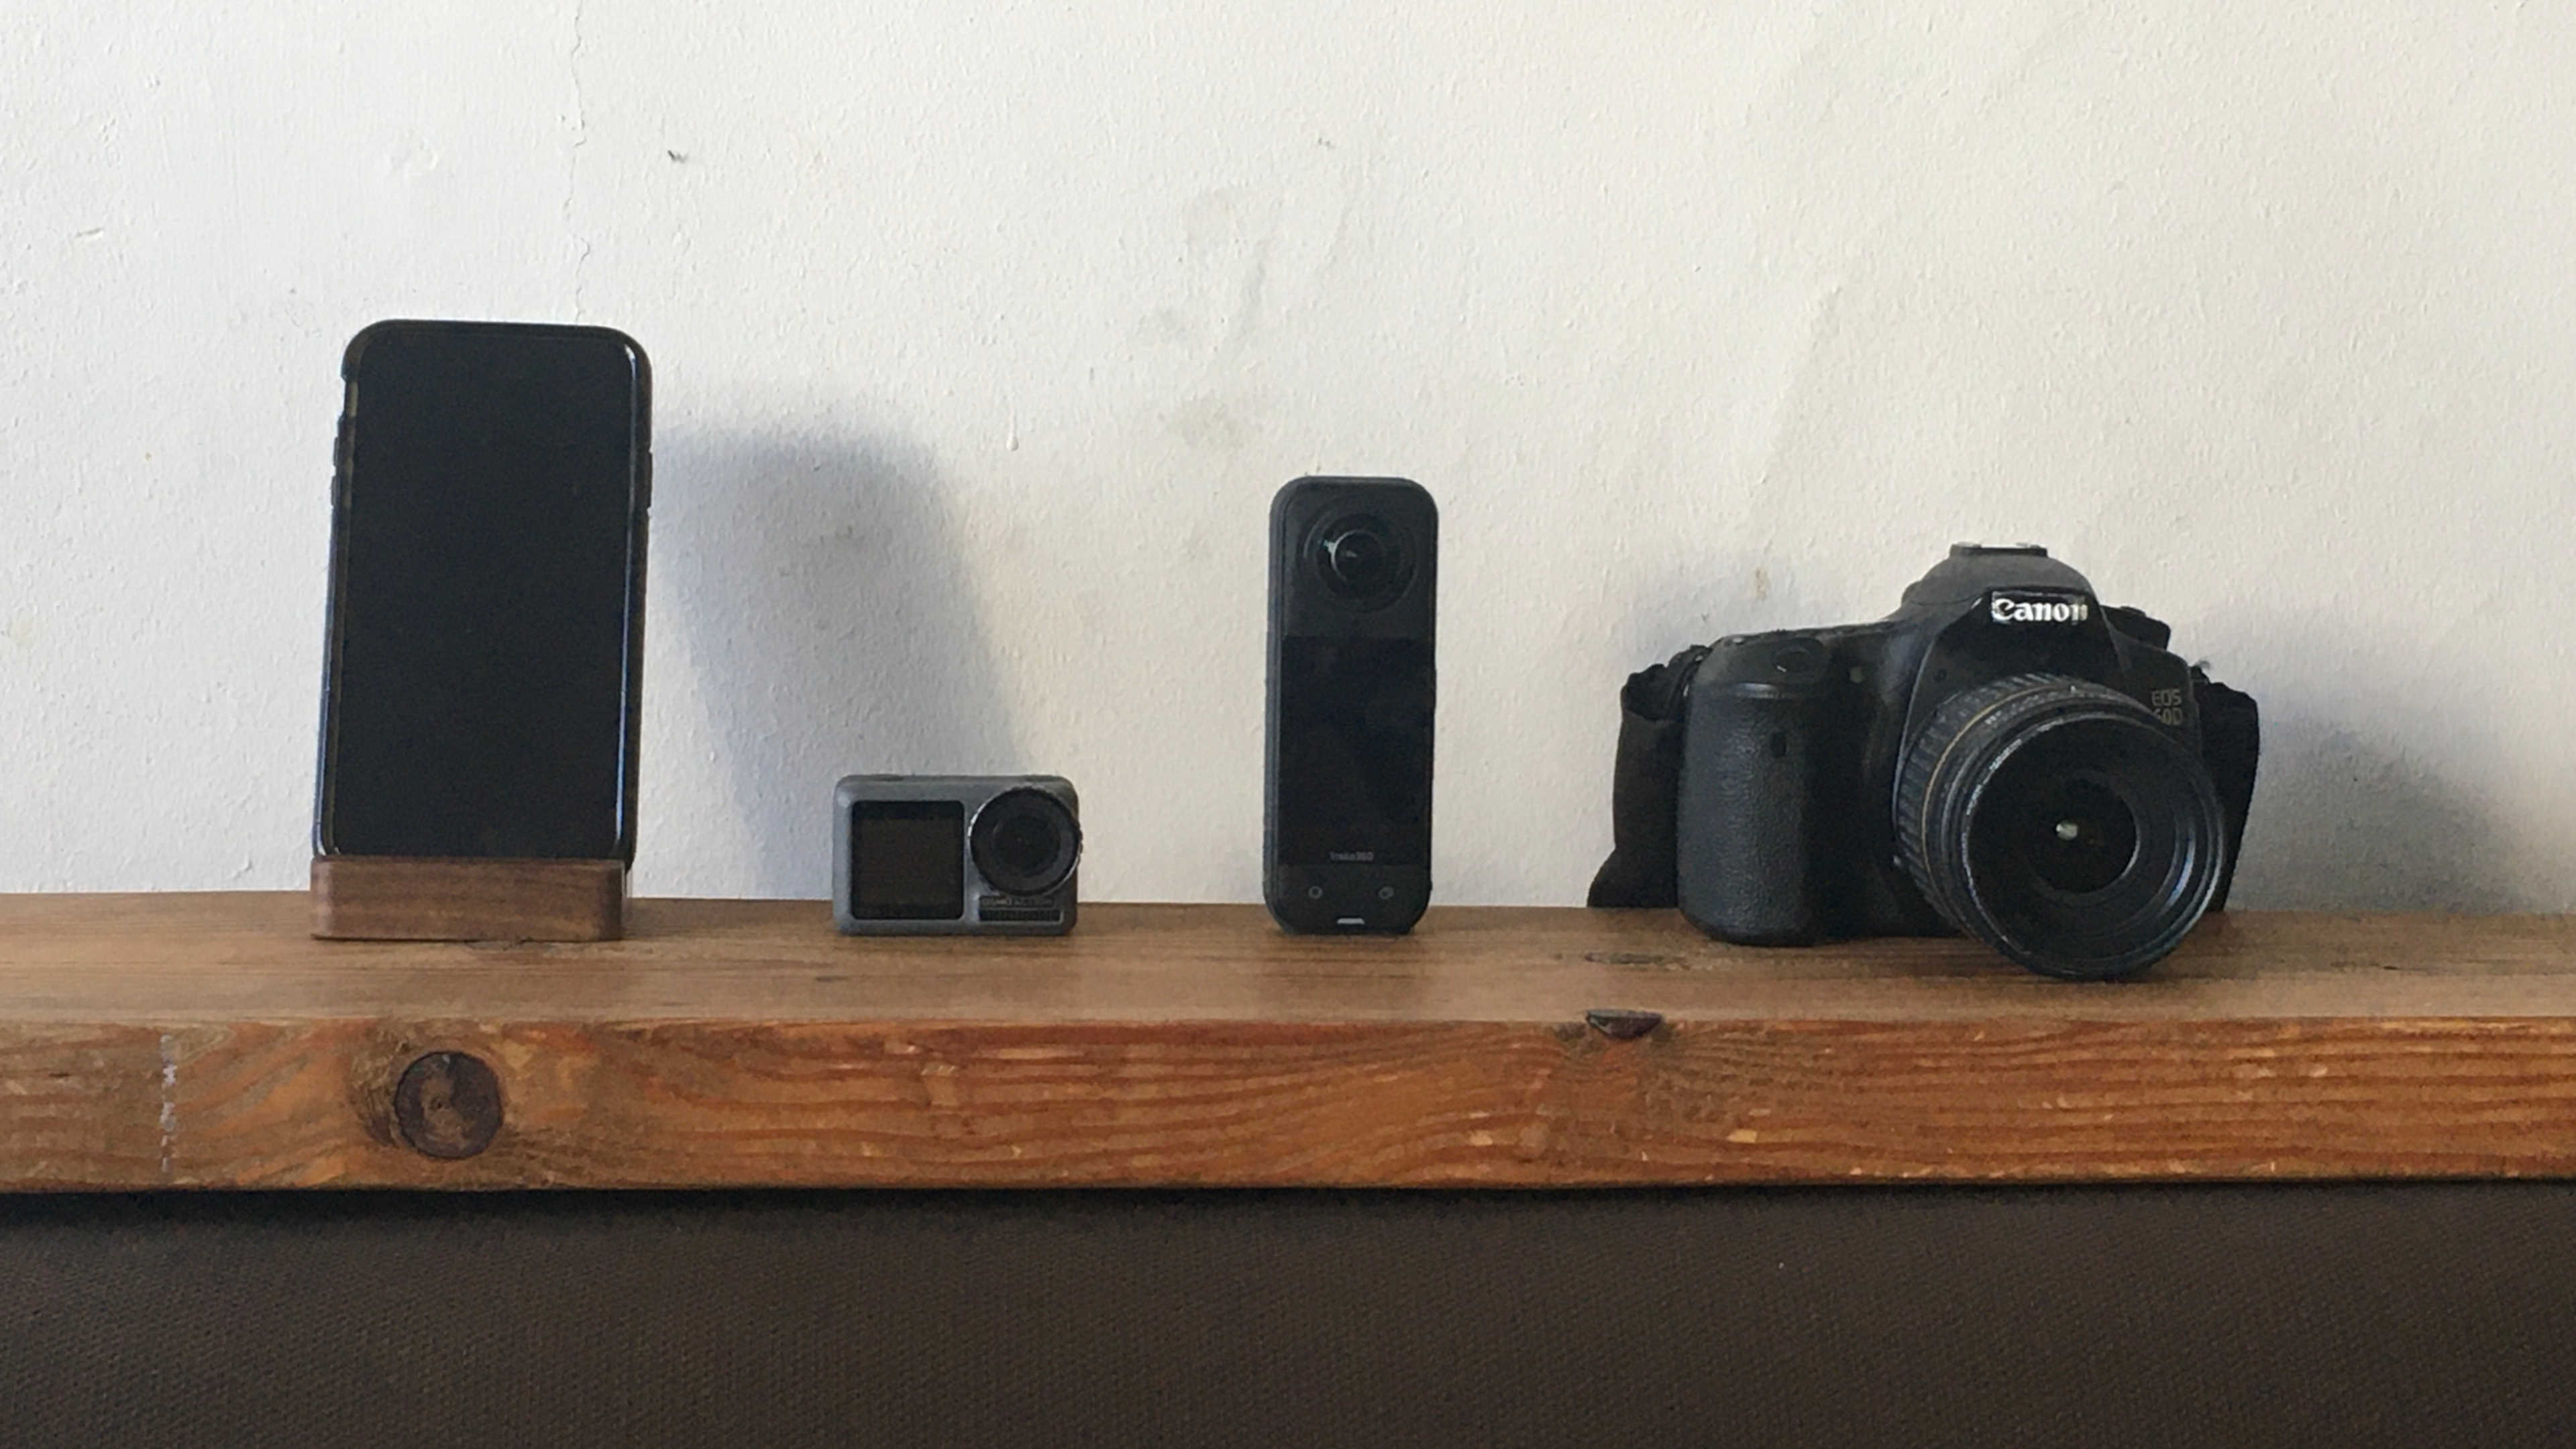
My current photo kit (from Left to Right: iPhone, DJI Osmo Action, Insta360 x5, Canon D60). It's not about collecting so much as adding and enabling the capabilities that each tool can offer to my vision.
1. Plan
The journey to a great vacation video starts long before I press record. It begins with careful planning and smart packing, considering both my creative vision and the practical realities of capturing footage on the go.
Choosing Tools: Overview
My setup has grown over time and with every new camera came a new way of thinking. Each was a genuine paradigm shift—not just adding new gear, but enabling new possibilities.
A. Ever-Present: iPhoneNo matter what fancy gear I bring, the phone in my pocket ends up doing a lot of work. It’s the camera that’s always ready—especially for those spontaneous moments I didn’t plan to film. Upgrading to a 256GB iPhone XS was a major quality-of-life improvement, allowing me to capture without constantly clearing space. It’s reliable, quick and capable of genuinely good results.
B. Action Workhorse: DJI OsmoI picked up the DJI Osmo Action for a 2021 road trip and it quickly proved its worth for landscapes, hyperlapses and underwater footage. Its rugged chassis, waterproofing and ecosystem of mounts make it ideal for perspectives other cameras can’t handle. My microSD latch has since broken, battery planning is key for this essential backup.
C. DSLR w/Zoom: Canon D60Adding the Canon D60 with an 18–250mm zoom lens was a leap into more deliberate photography. It allows for true telephoto shots, honing in on details and capturing crisp B-roll—the raw material that makes any edit richer. Learning its nuances for video in bright daylight has been a fun challenge, opening up creative possibilities nothing else in my kit can match.
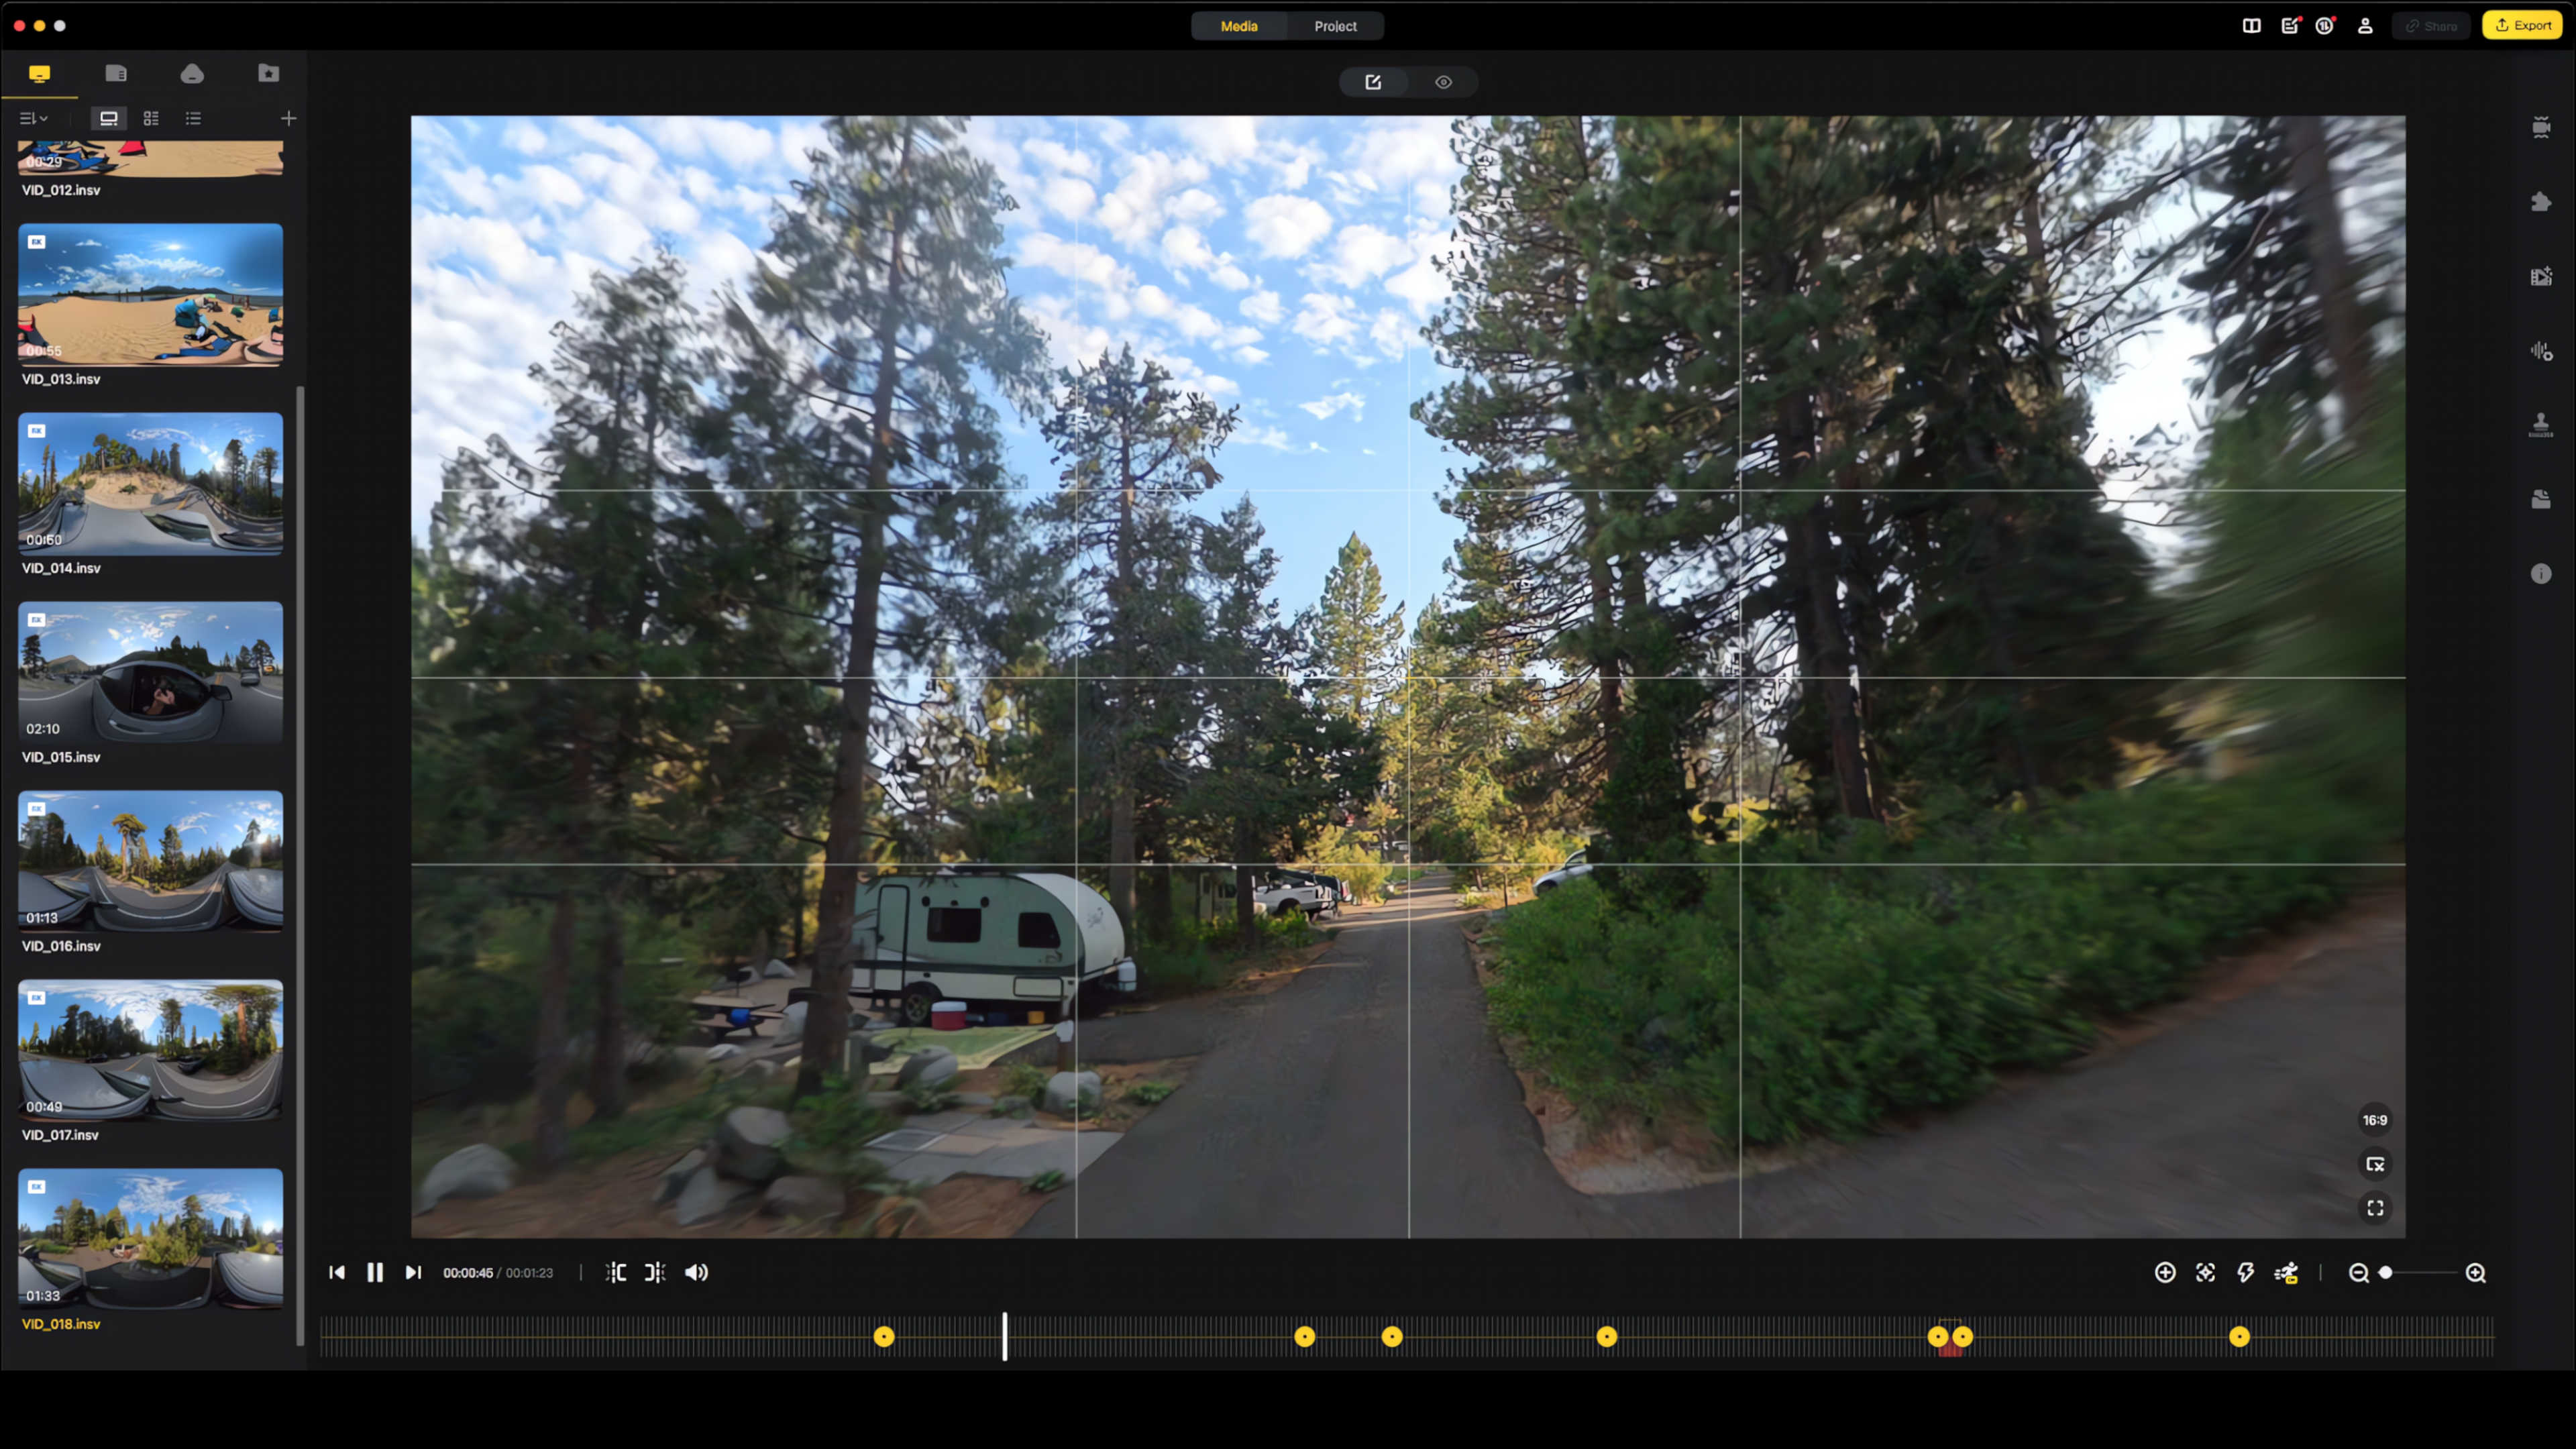
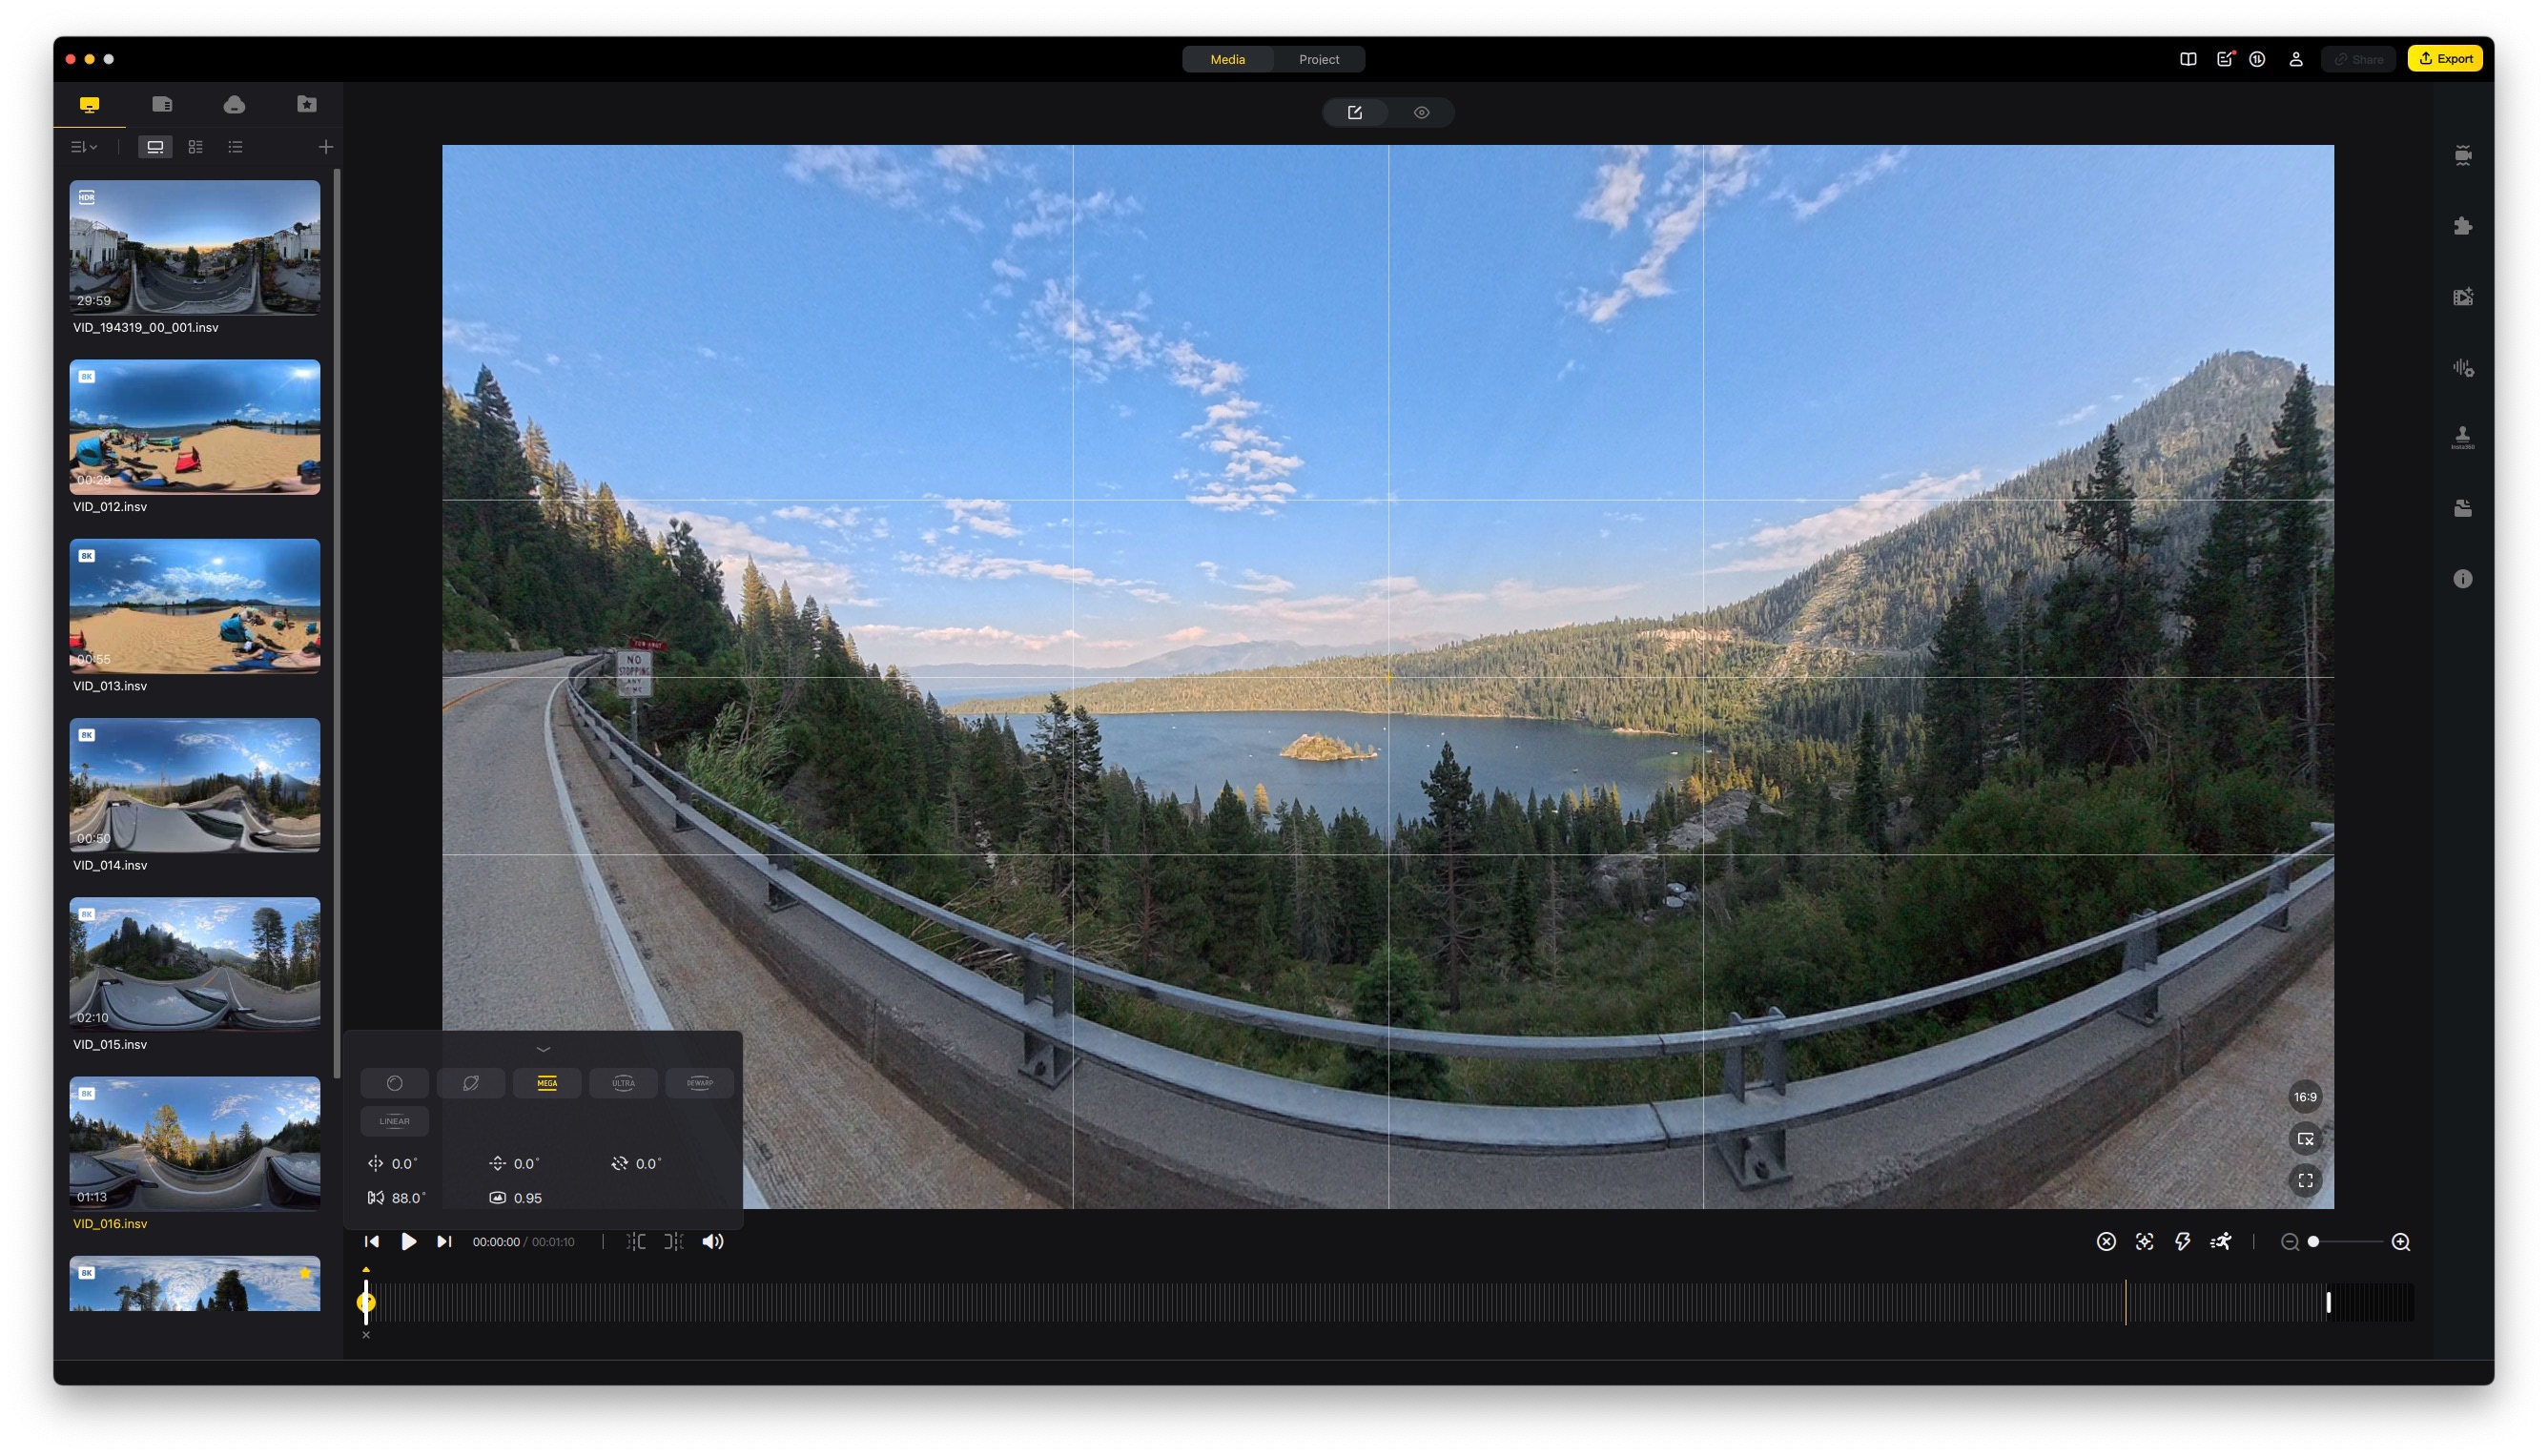
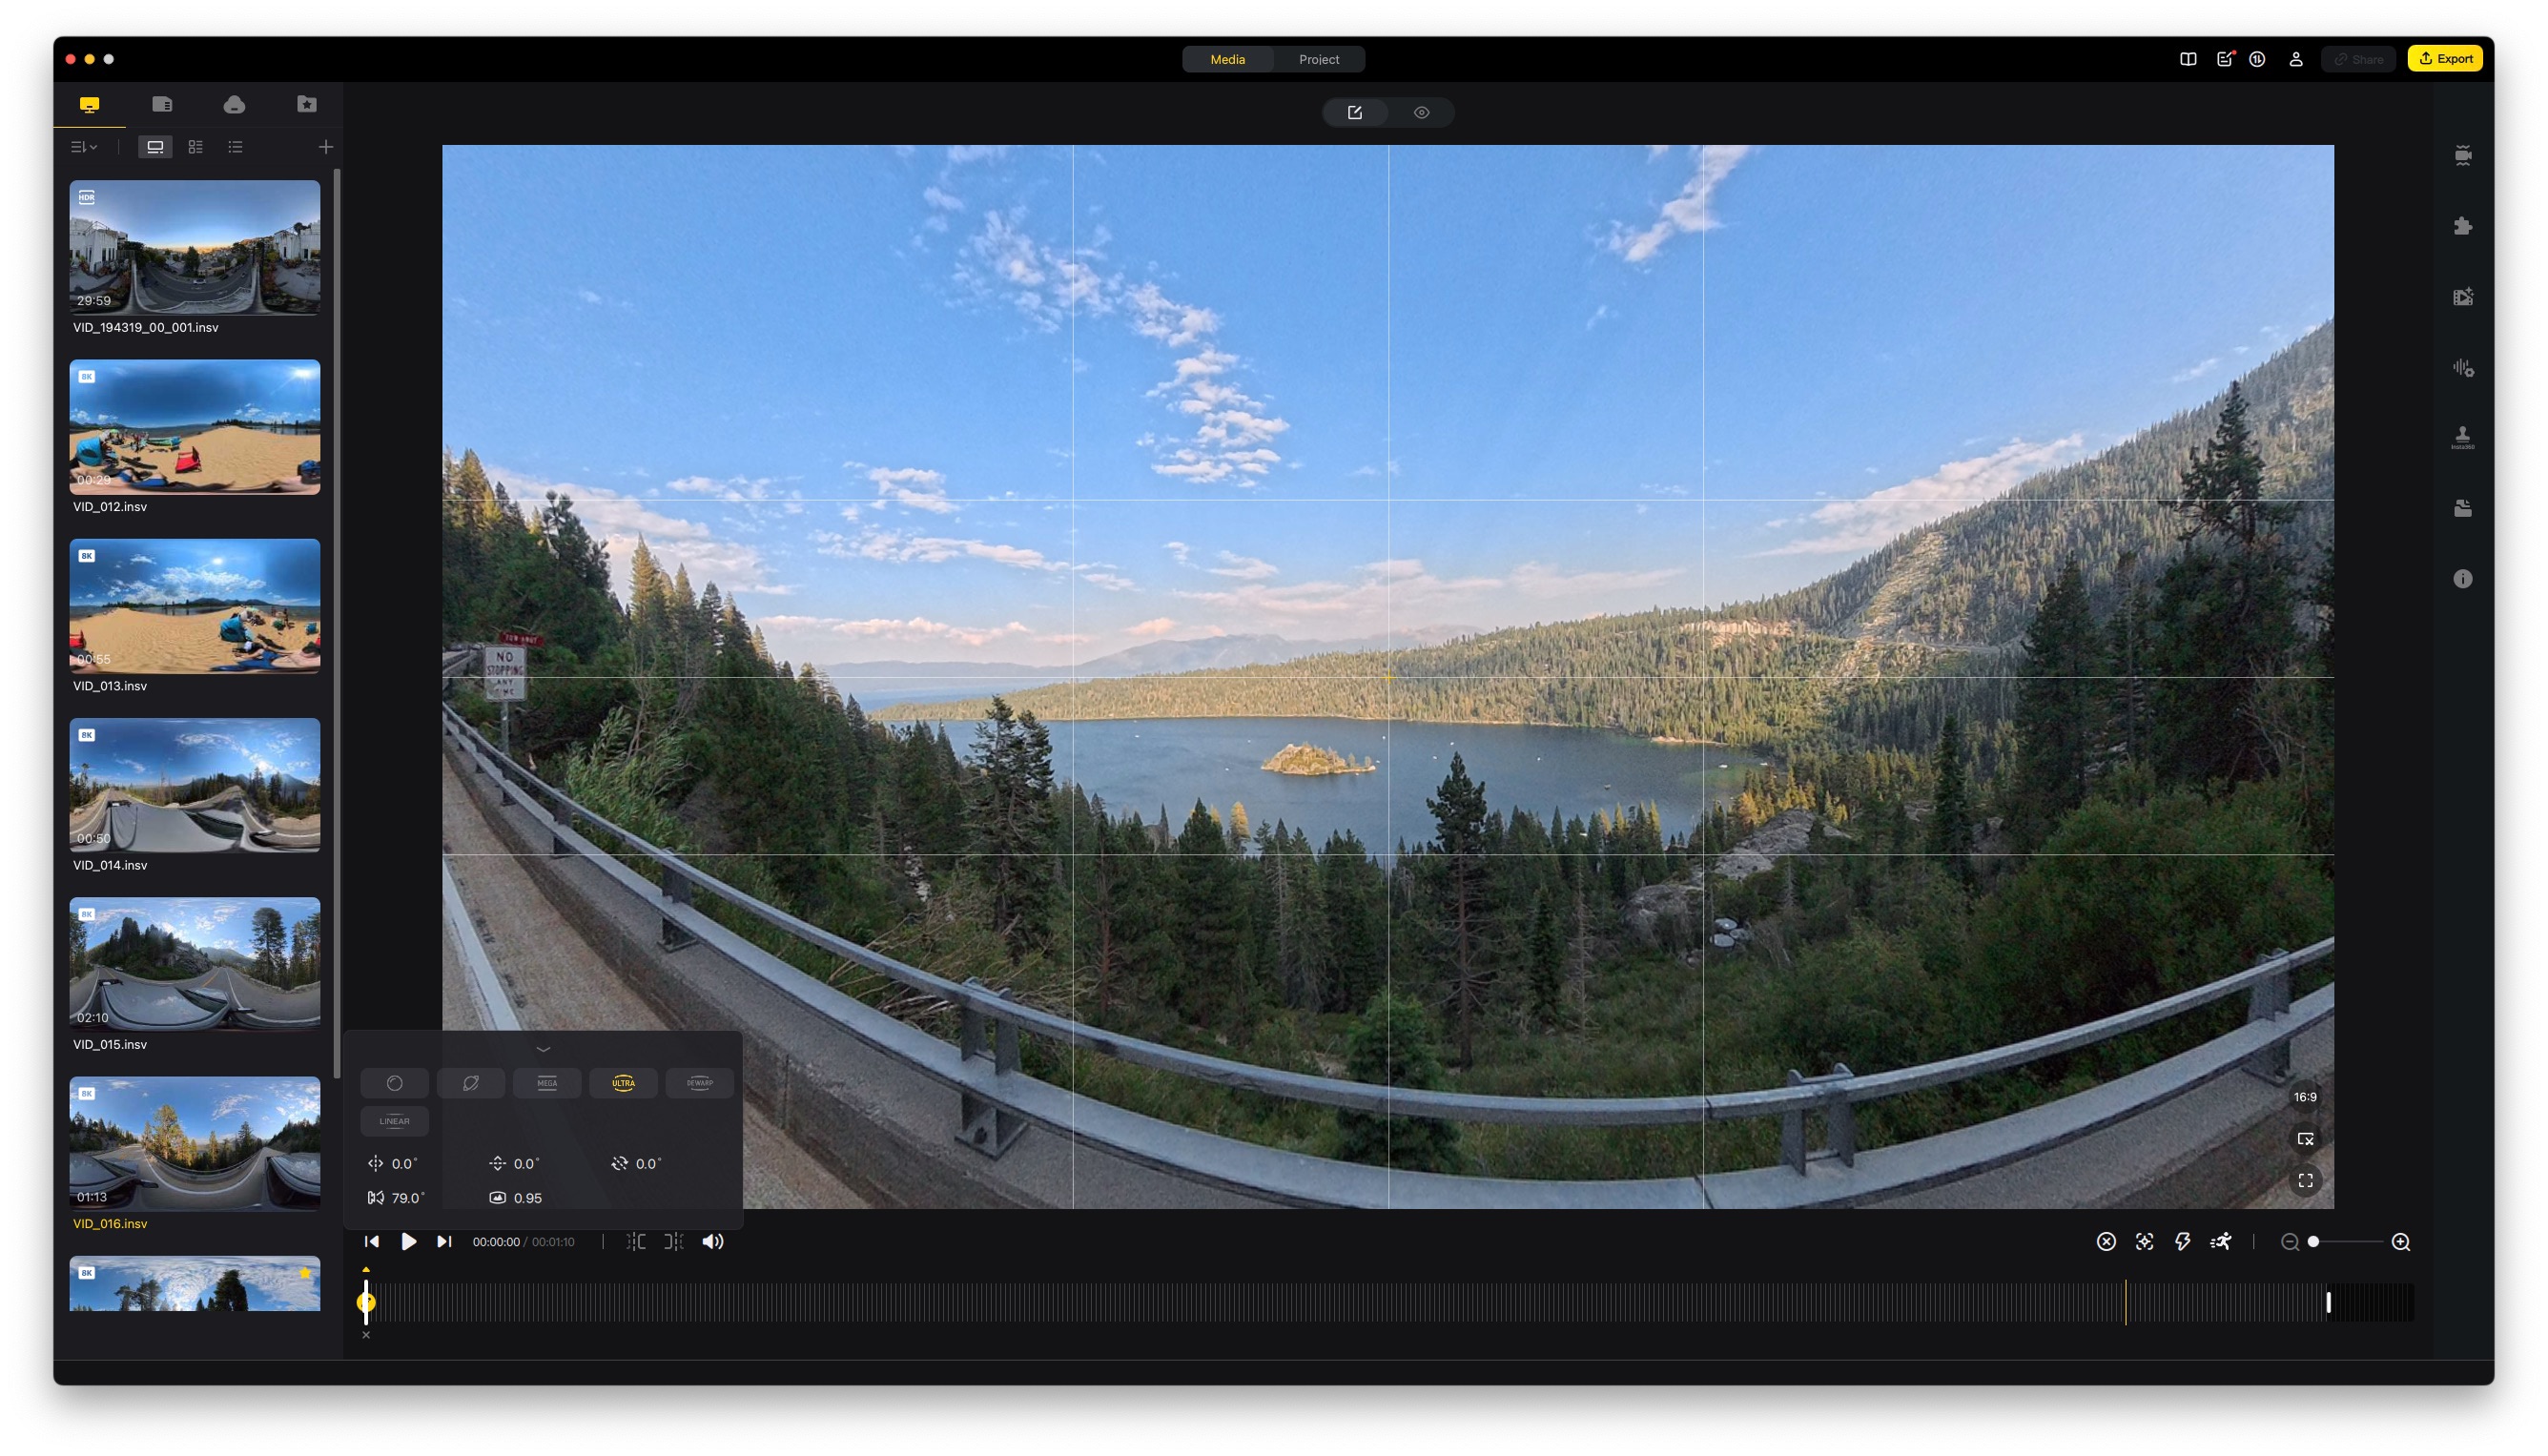
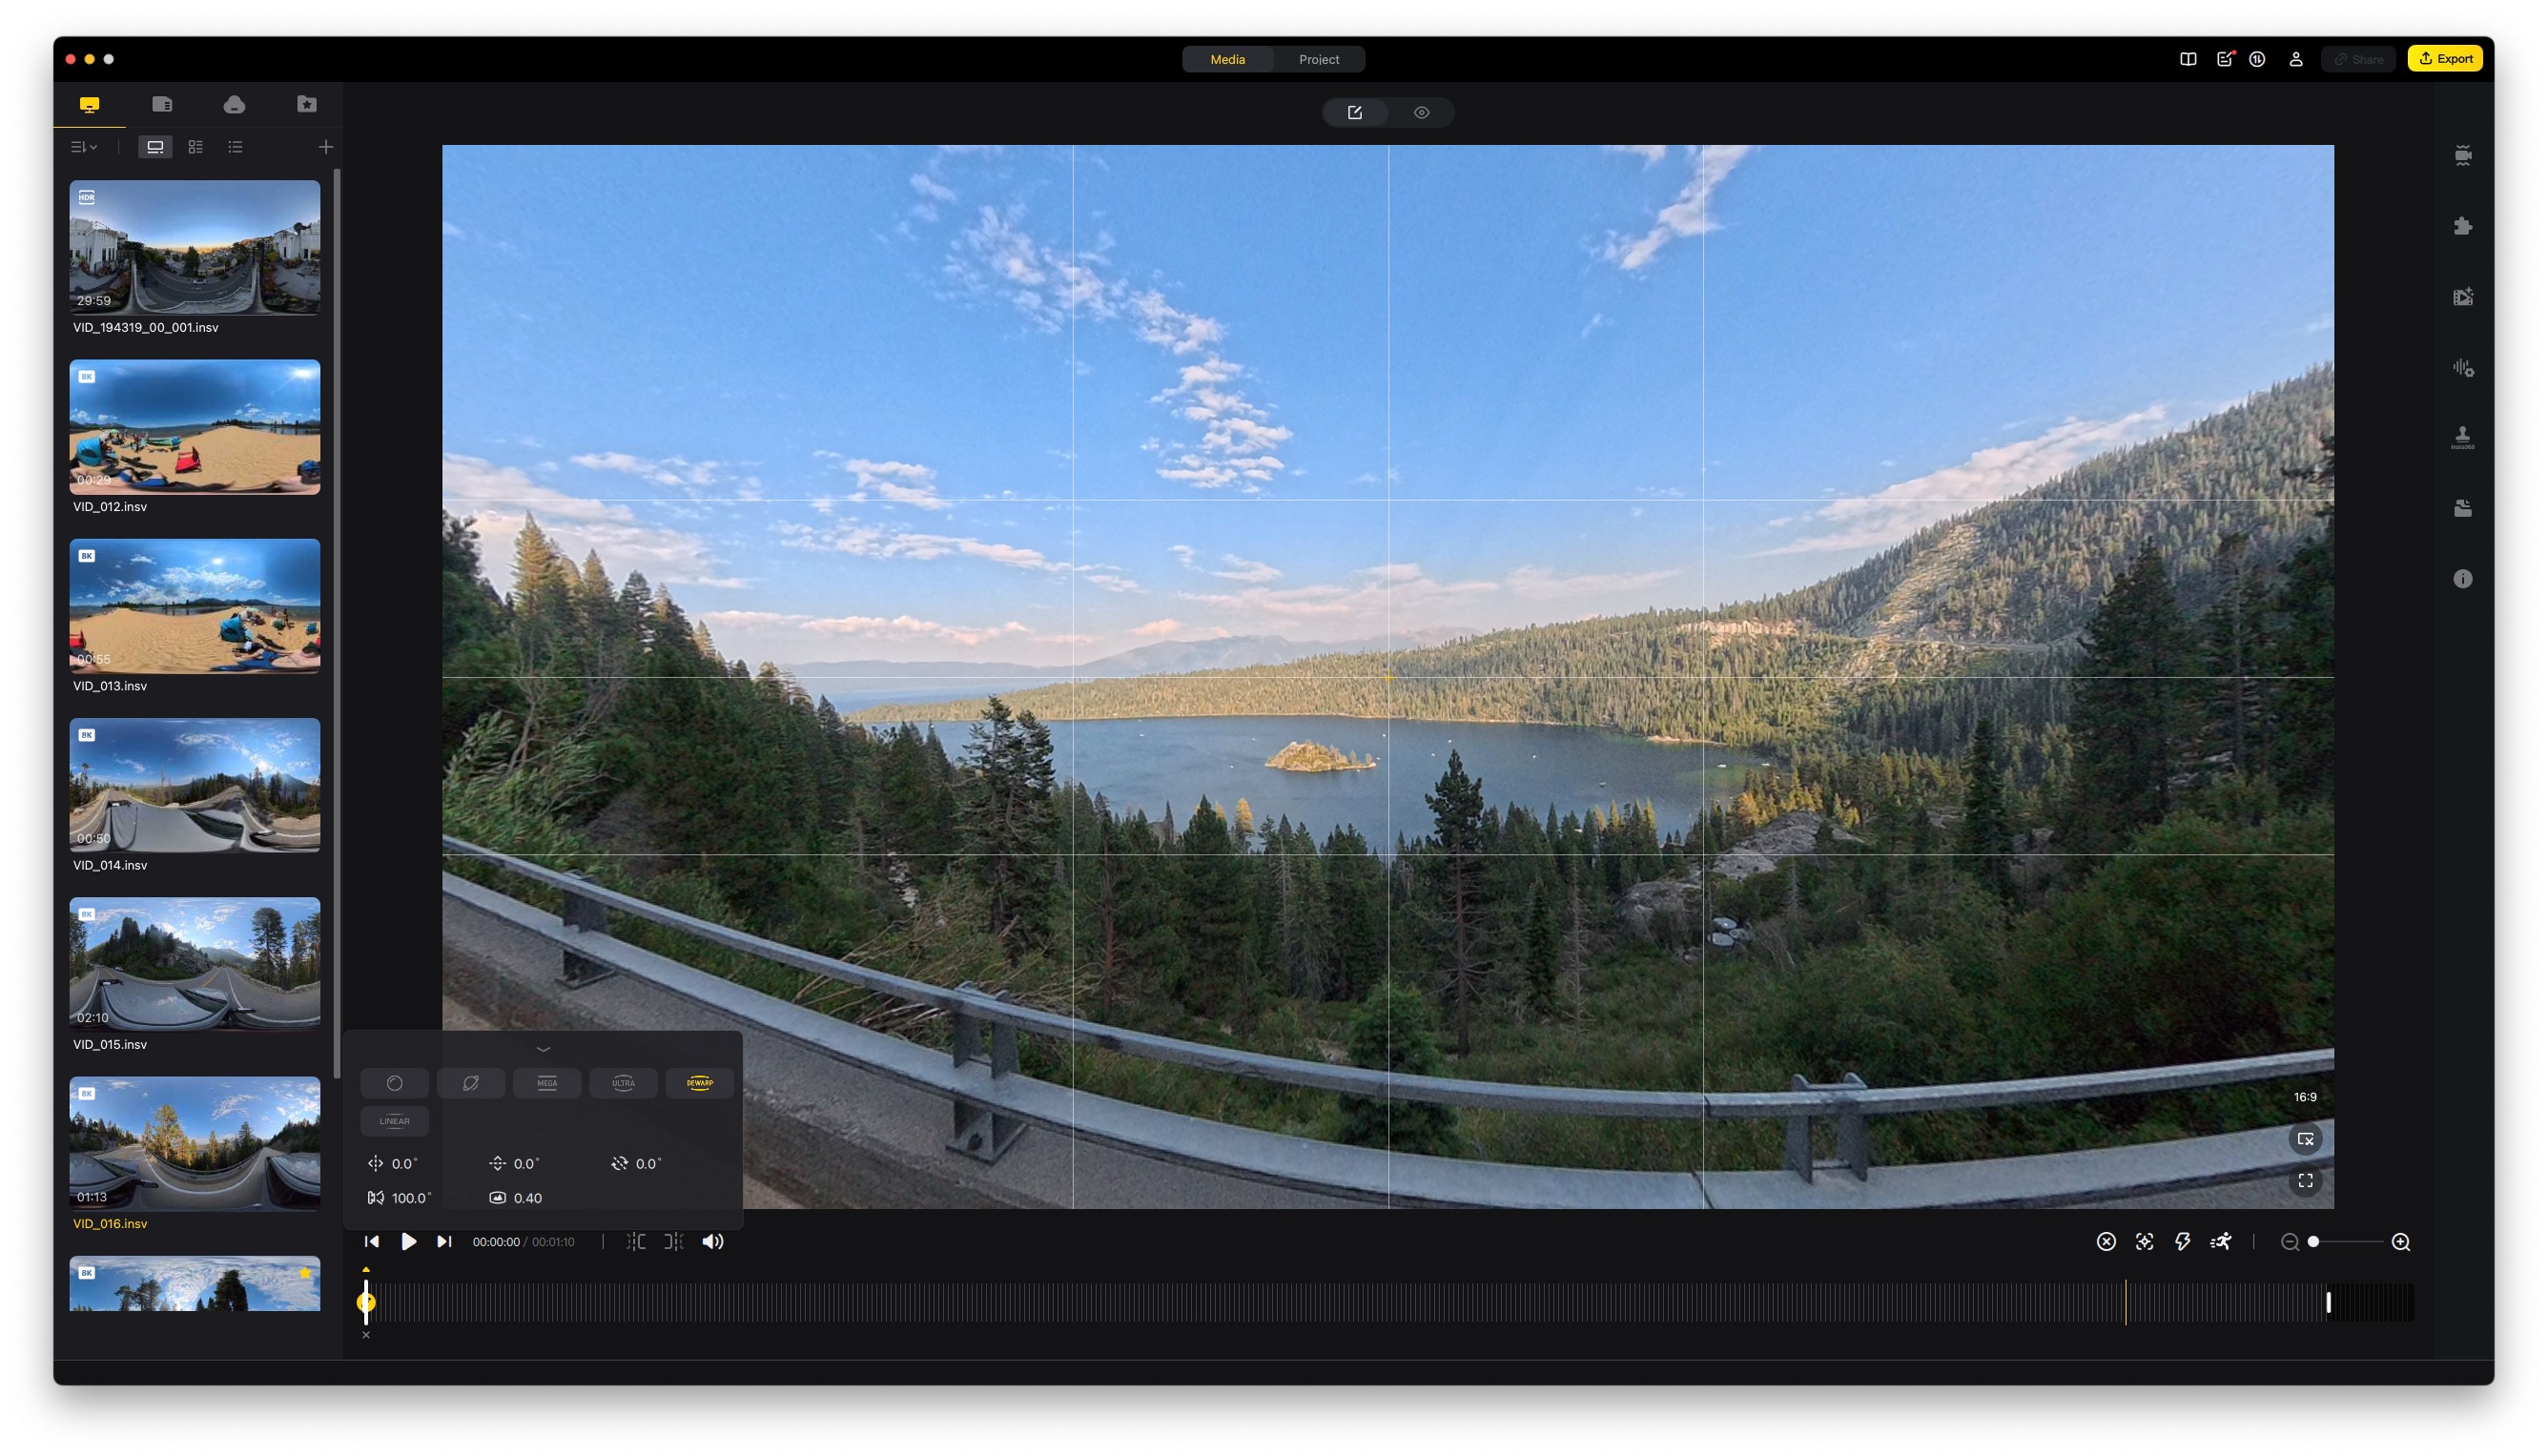
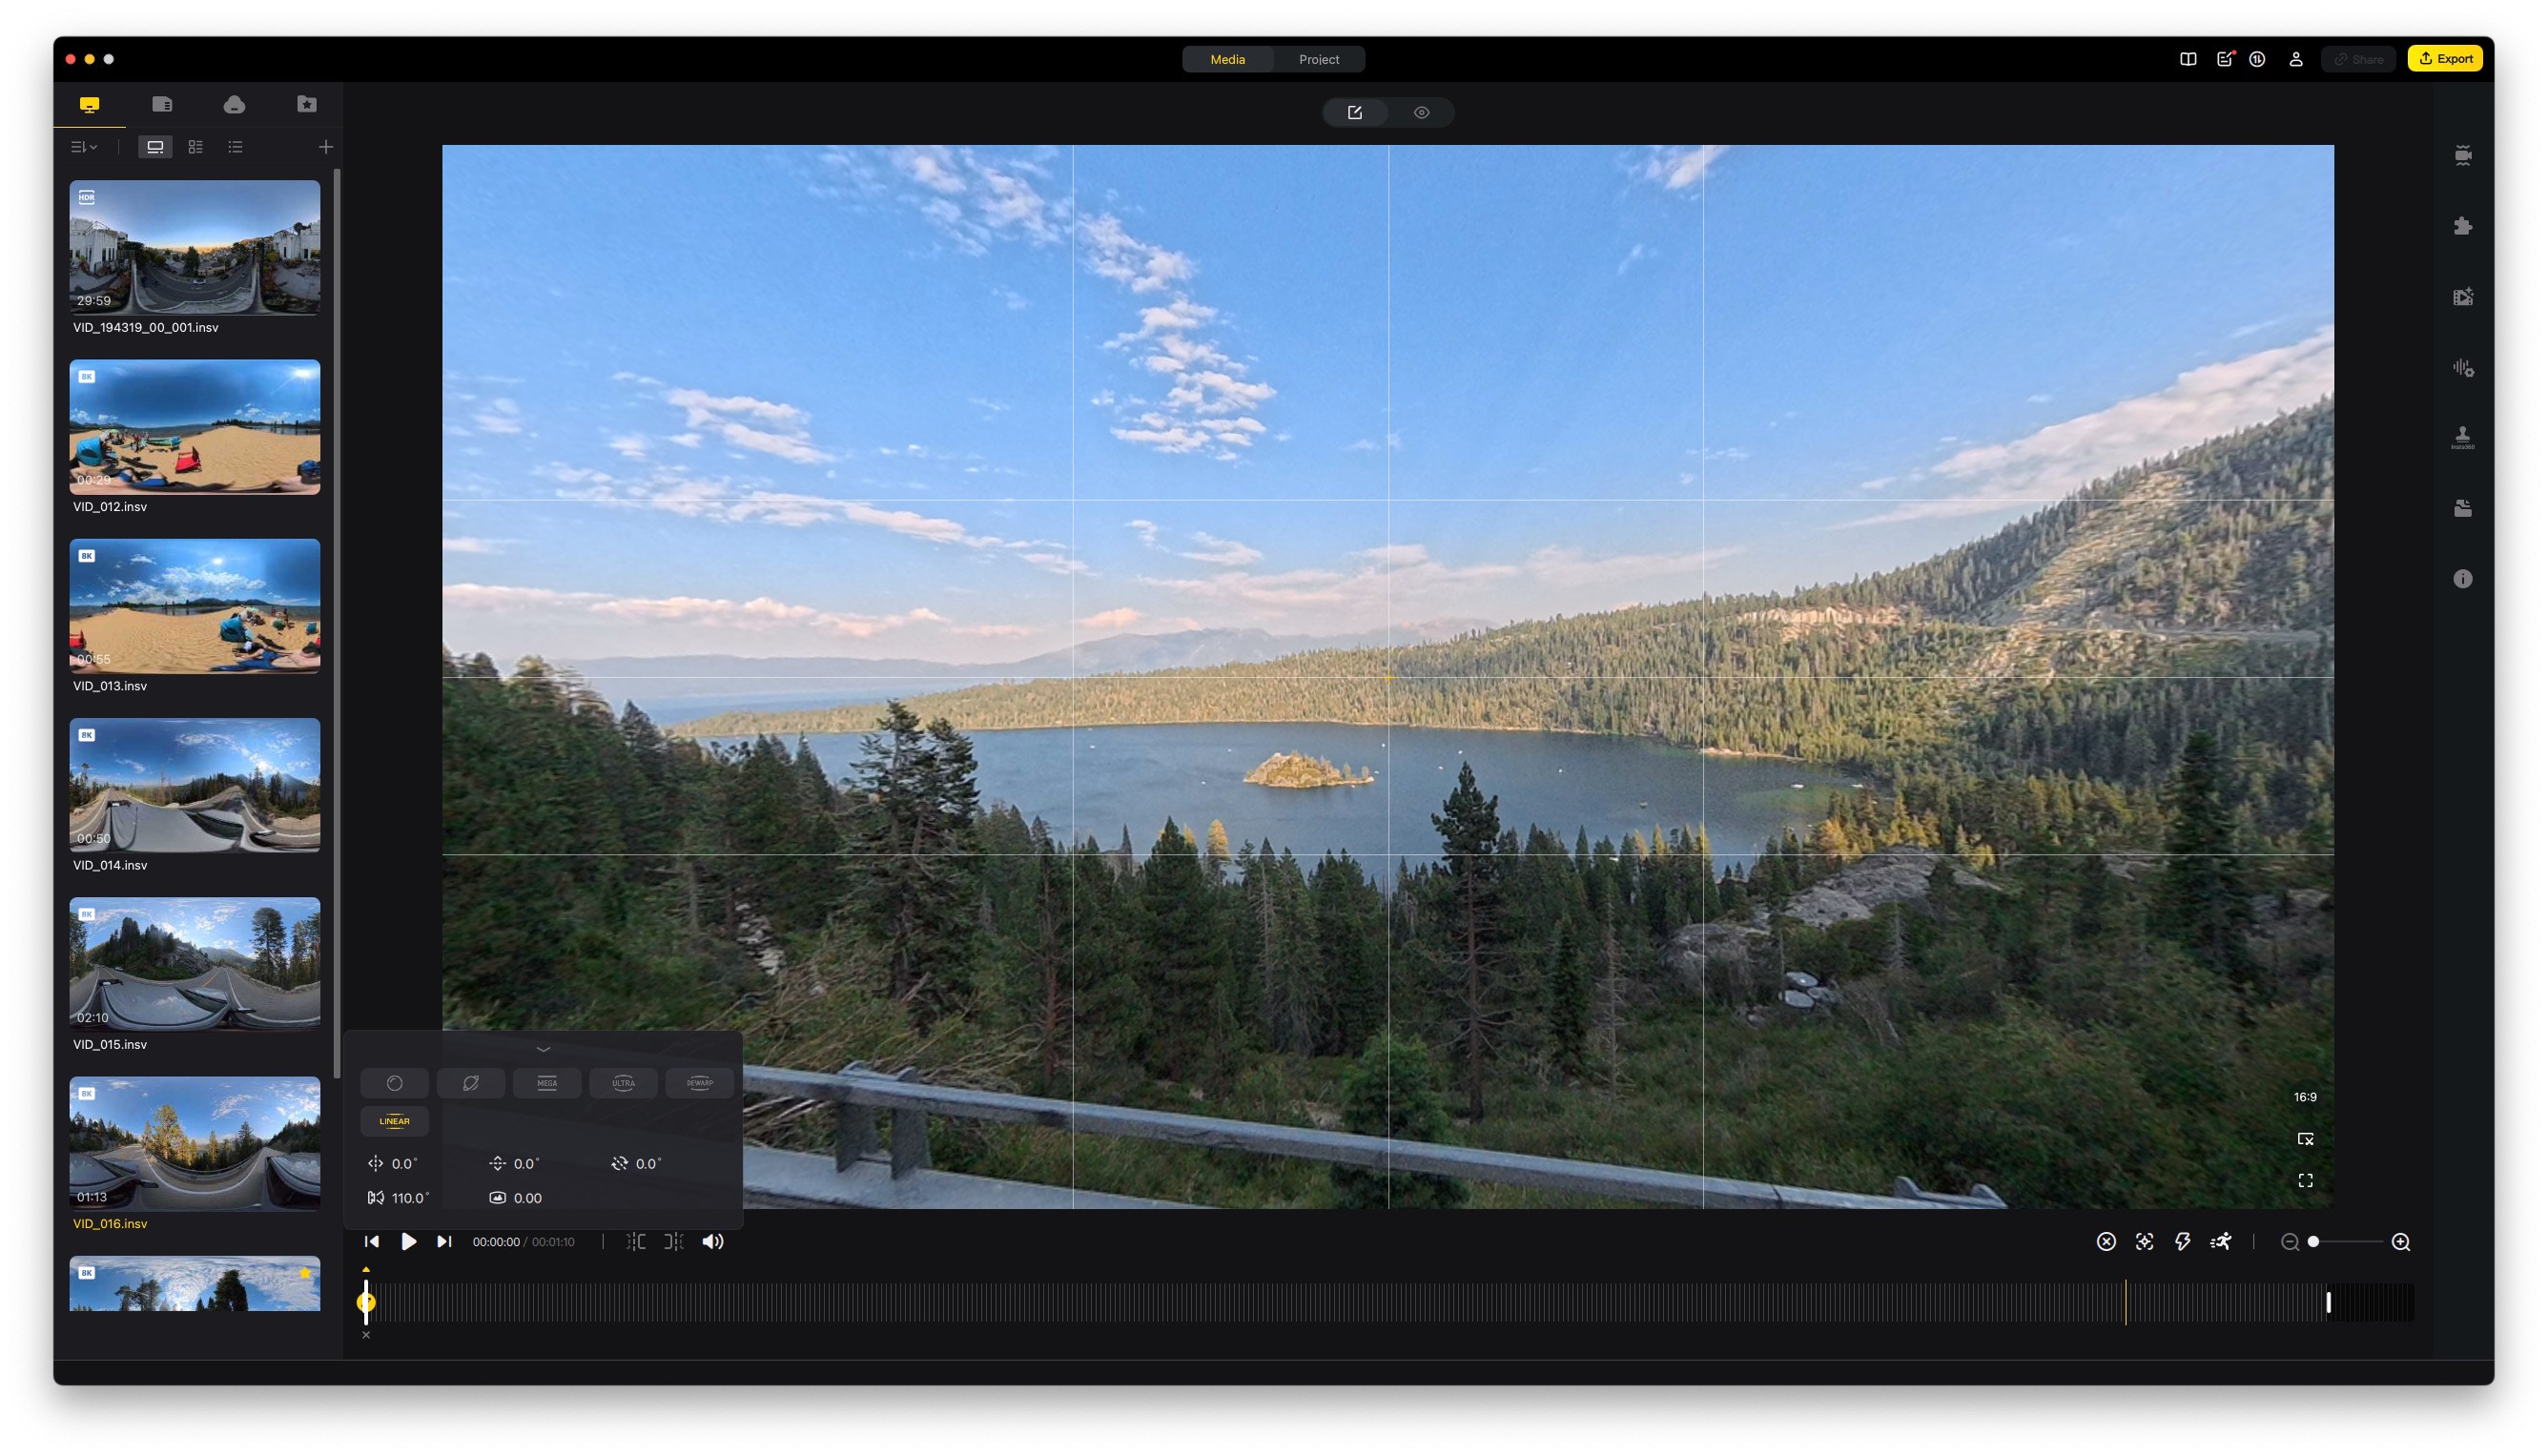
D. 360° Game Changer: Insta360 X5This is my newest addition and the biggest shift yet. I got it to stop worrying about framing. With 360° capture, you literally get everything, allowing you to reframe, track subjects and compose shots in post. It’s liberating, letting me be more present in the moment. However, it's a commitment: 360° footage demands extra dedicated editing time to do anything fun, even just to export and browse.
Unseen Foundations: Memory & Power
Behind all the creative philosophy is the reality of production. Two factors define whether you can shoot at all: memory and battery life.
Having ample memory (256GB on iPhone, 256GB for Osmo, two 512GB cards for the X5) has been a game changer, freeing me to capture once-in-a-lifetime moments without constraint. Likewise, consistent power is crucial. Multiple batteries for the DSLR and powerful banks for the X5 are essential, as power limitations directly shape what and how long you can film. Consider adding fast chargers at home and bringing power banks with fast charging capability (Power Delivery, 20w, Quick Charge) if possible.
Shot Planning
This is something that can really help you when you get out on location. Often the work involved in getting everything together, getting to the location, setting things up and being 'ready to go' can precede actually having ideas of what to shoot. I've gotten on site and then thought to myself, ok, now what? What should I be shooting that will yield cool results? This leads into cinematography and the creative visioning process. It also calls for more footage to edit later. More of a "shoot first, edit later," mentality.
Packing
Part of the process is getting oneself — with all desired gear — out on location. This involves packaging it up carefully, to optimize space and keep gear tight, but also to ensure it can be carried and the entire trip can be enjoyable.
From recent experience, It's quite unpleasant to be out shooting and struggling with backpacks falling open, too many straps, tight spaces and trying to find things under pressure. All of which, while staying creatively open and present and interested, engaged in the moment and capturing something "special." It could be especially harrowing in an urban environment where more people, distractions and even theft were more of a factor than where it happened to me (Kite Hill, Mt. Sutro Greenbelt...).
I am still looking for my ideal setup, considering a camera bag or sling for dedicated gear instead of a combined backpack with miscellanea (sweatshirts and other EDC items...) embedded therein. (Lmk if you have recommendations!)
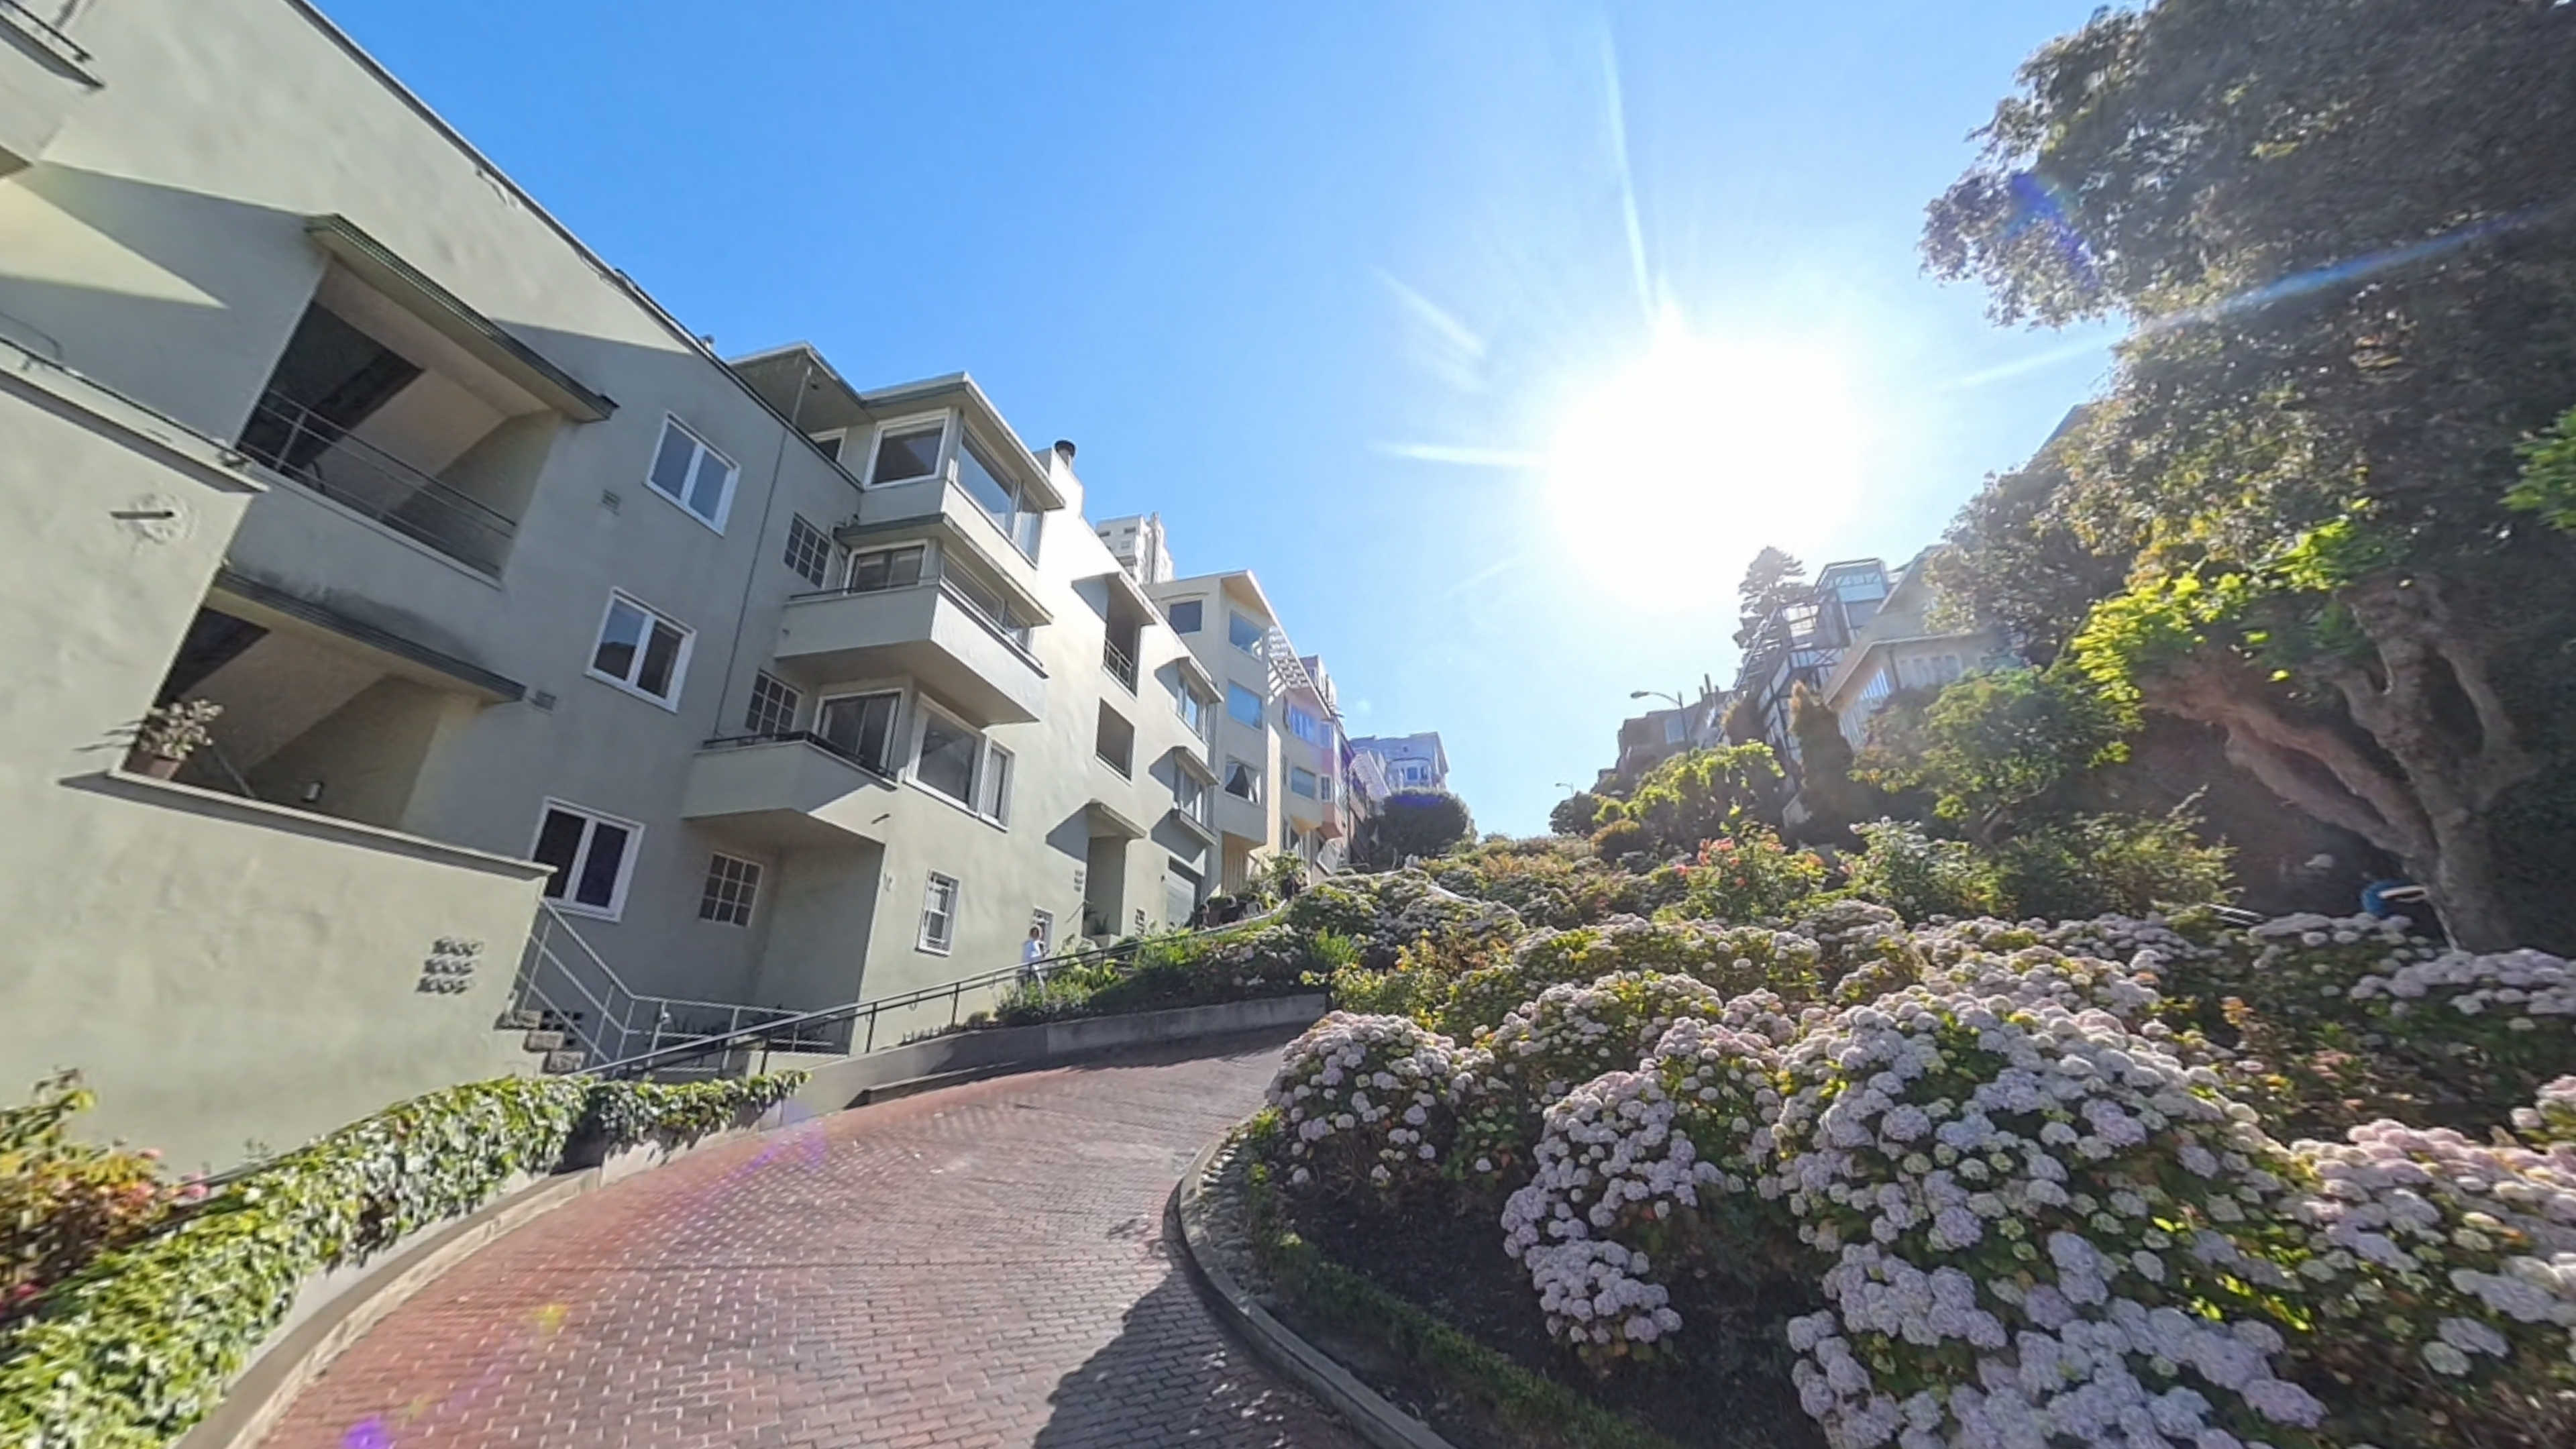
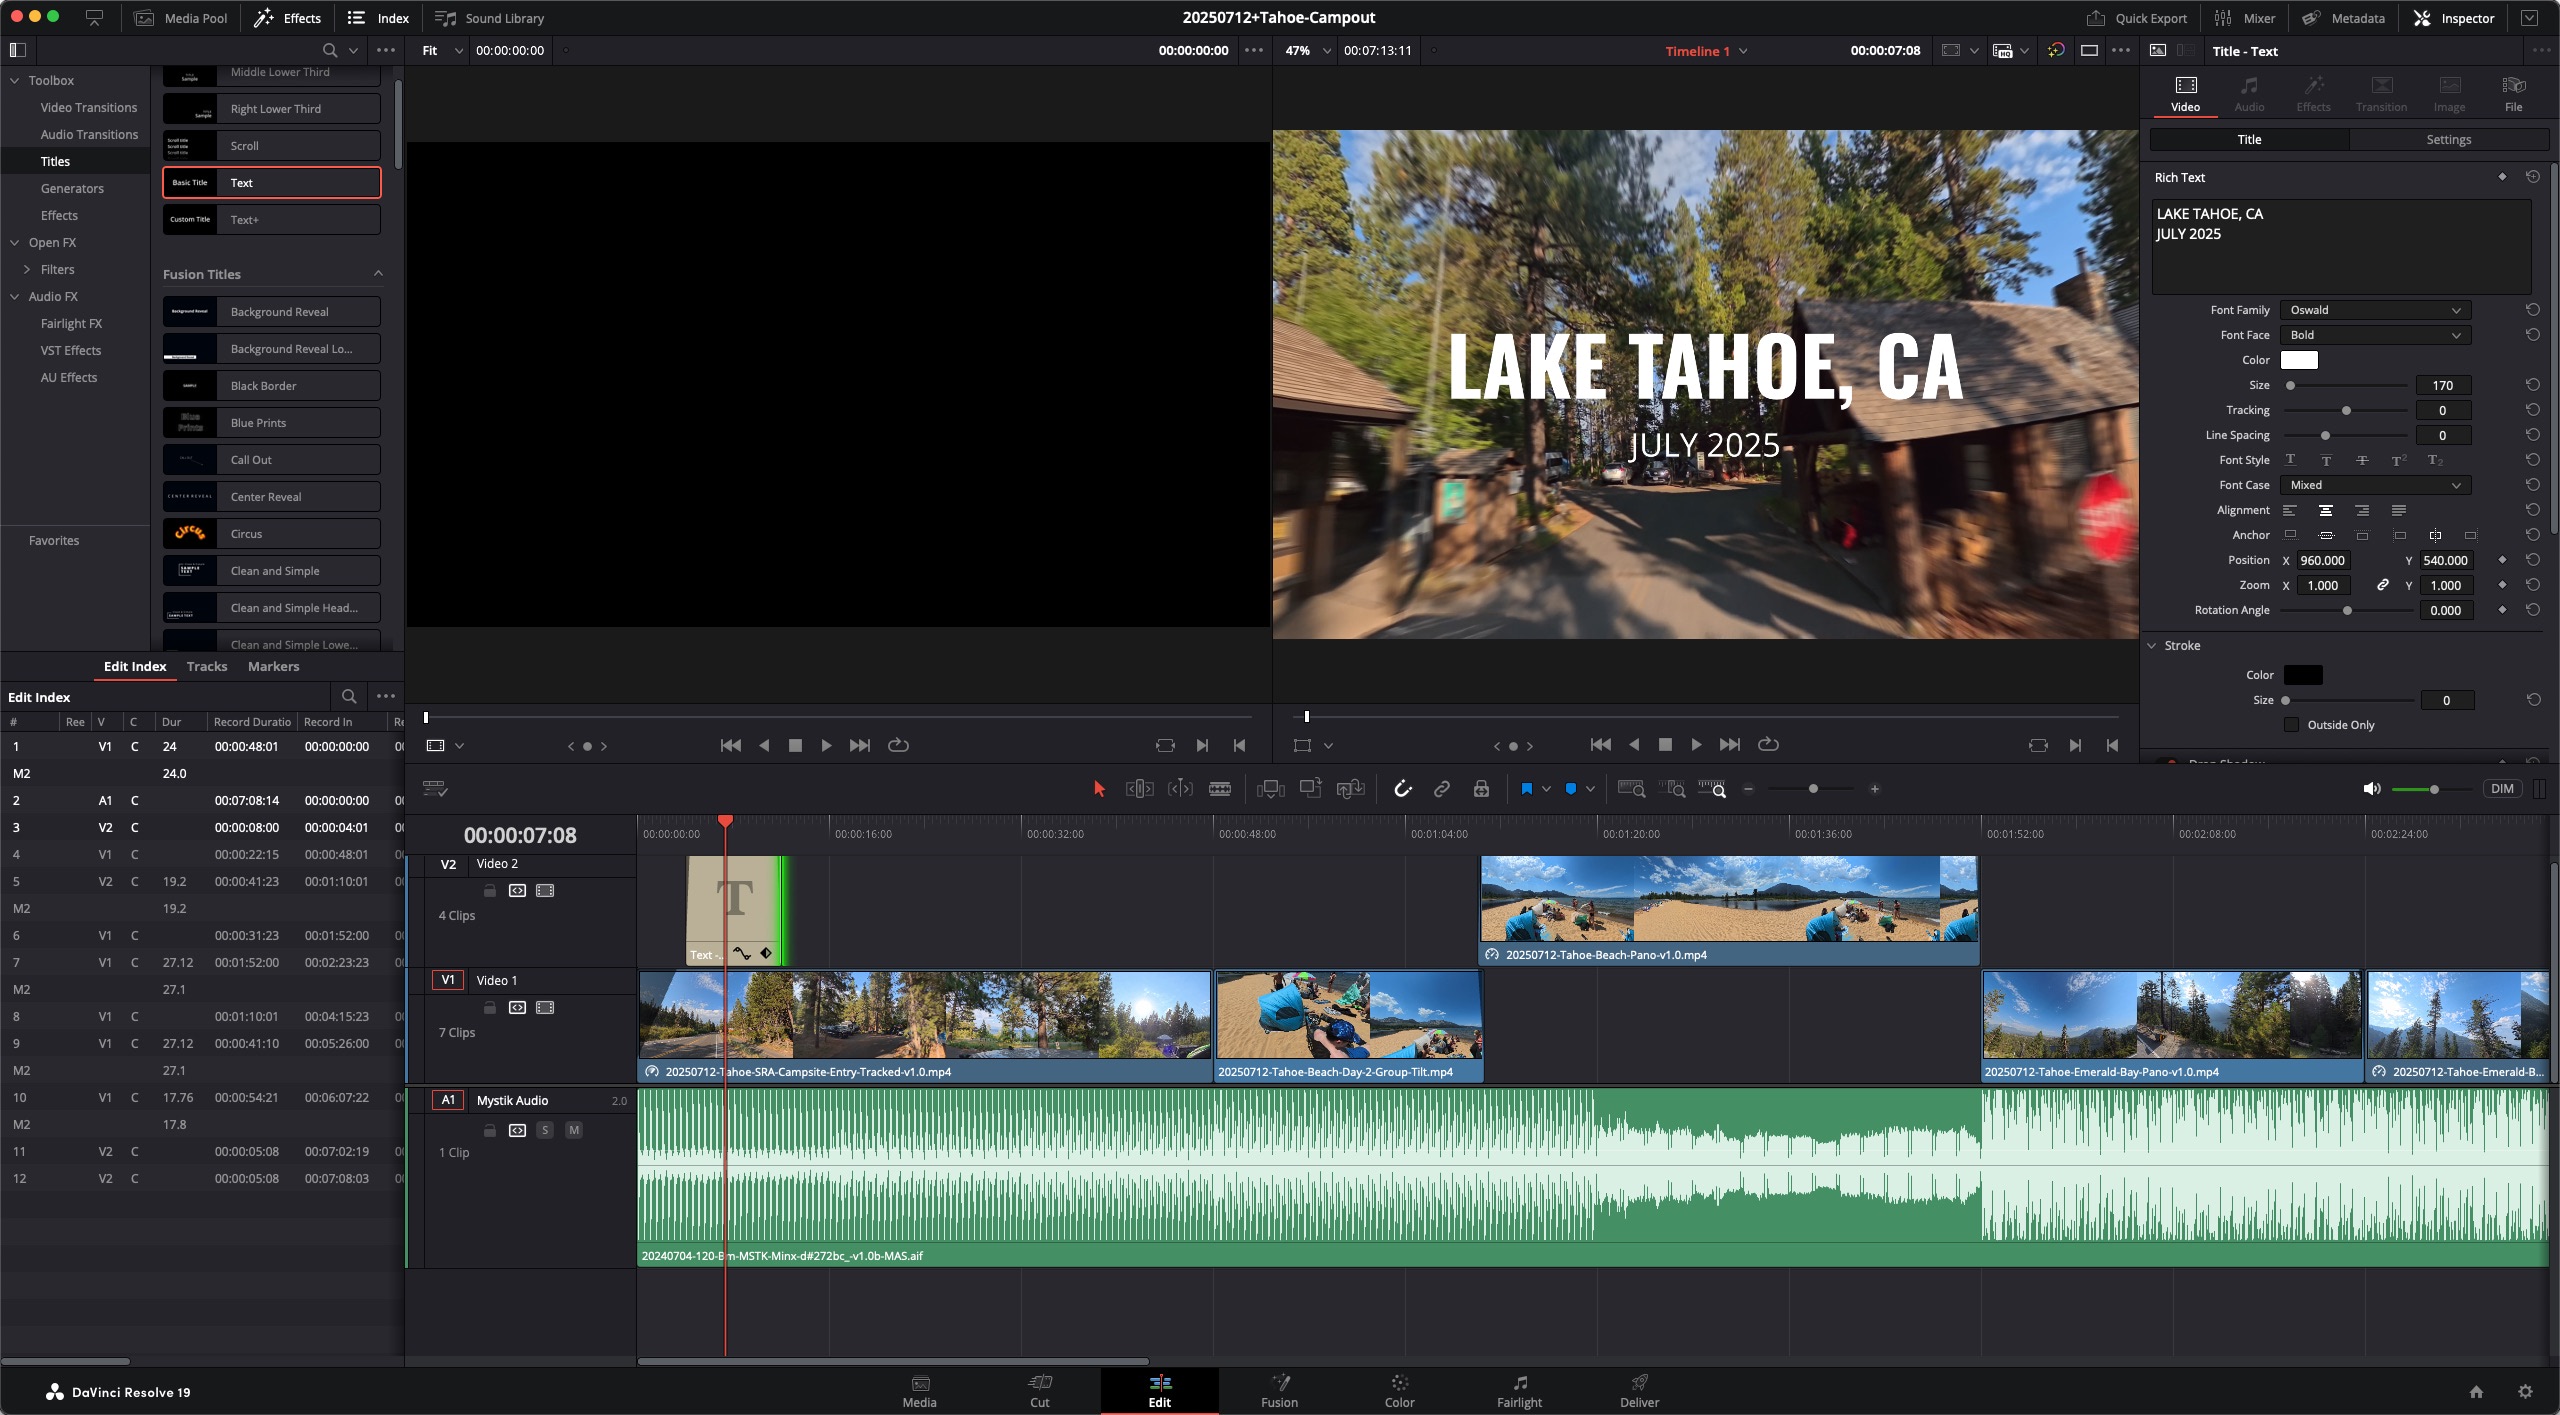
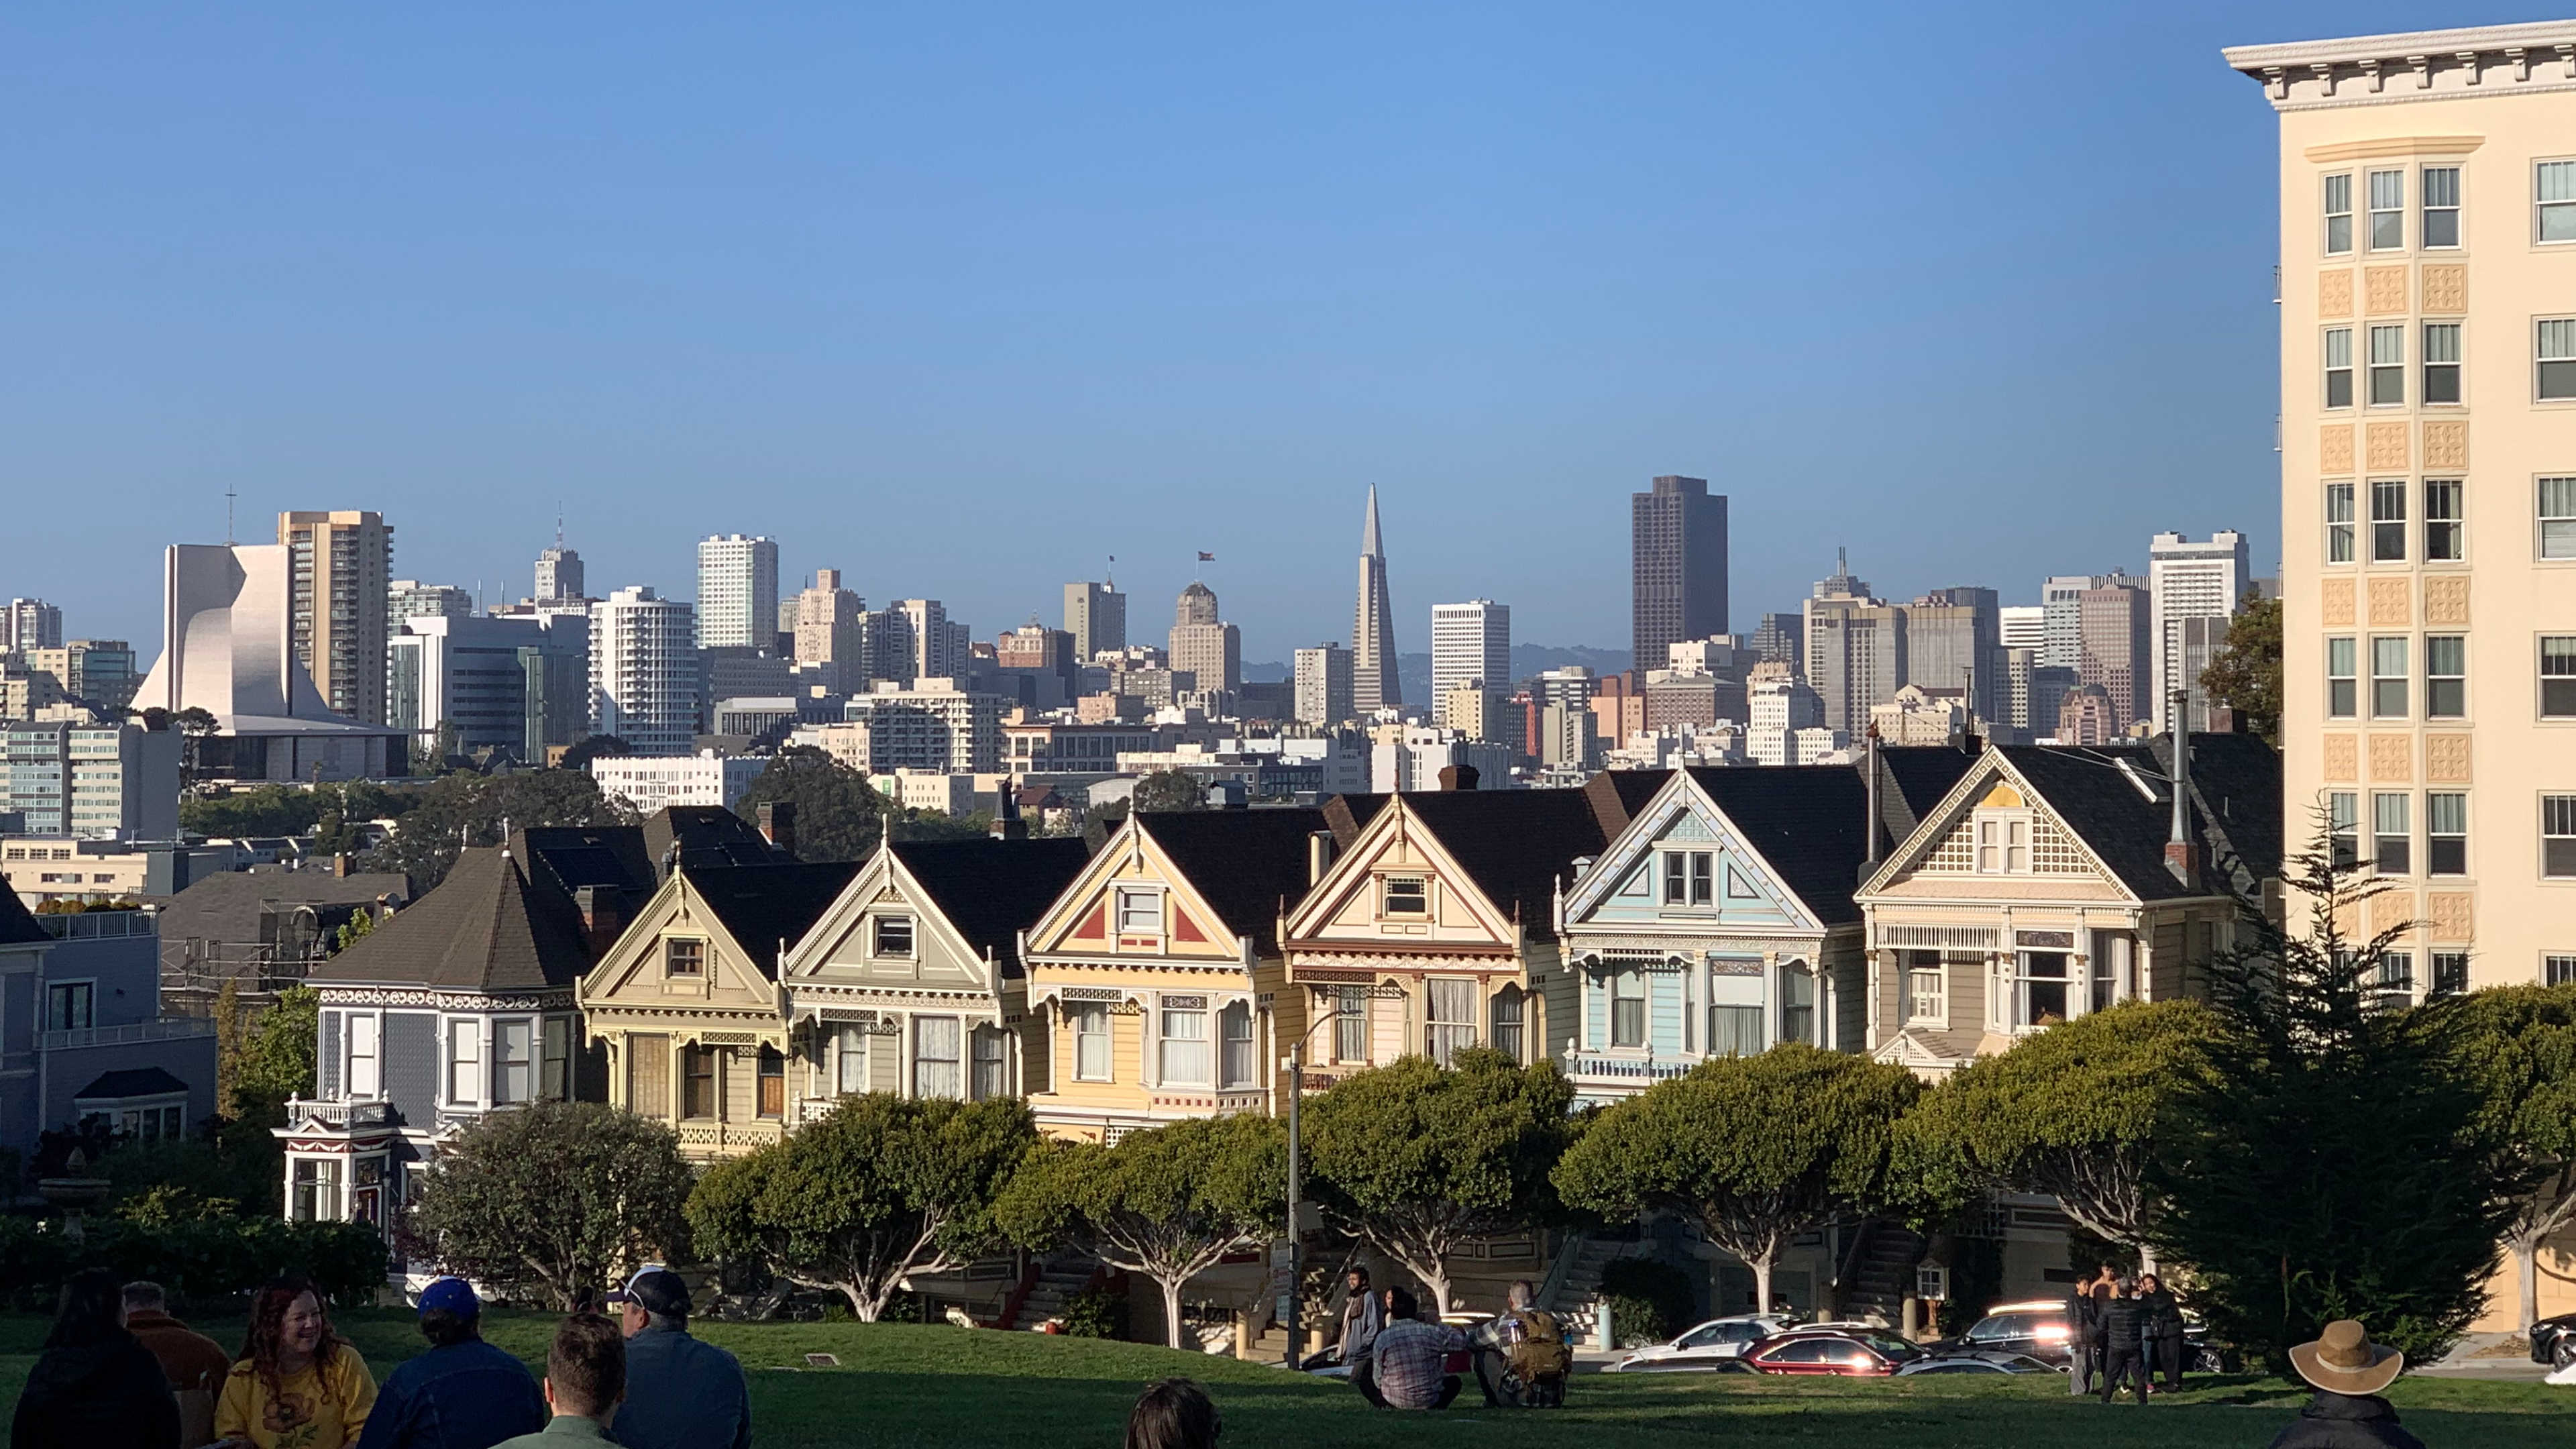
Our creative philosophy was tested in real places, with real challenges. My brother and I filmed a daytrip through San Francisco that included a drive down Lombard Street, which is famous for its hairpin turns. Editing and keyframing this shot in post was a fun project. The capture was wiggly and so it required a lot of keyframes to simulate stability. Also, due to the angle of the sun, the selfie stick shadow appears in much of the forward, downhill facing footage.
2. CAPTURE
Once the planning is done, it's time to immerse yourself in the experience and capture the moments.
The Big Idea: Capture Everything First
My approach often (but not always) centers on maximal recording, allowing for more creative editing choices later. Instead of worrying constantly about perfect framing or missing a moment, with the 360° camera especially, I can stay present, knowing I can reframe what I've shot in post. This offers huge creative freedom, including multiple angles from a single take, AI subject tracking and the chance to direct your footage after the moment passes. The trade-off is definitely more editing. Thus far, for me, it is still an active experiment, ideally to explore video storytelling more—turning ephemeral moments into lasting creative work.
Use Cases and Trips So Far
This philosophy wasn’t just theory. It got tested in real places, with real challenges:
- San Francisco Staycation: As mentioned in the introduction, a planned — and much anticipated — family trip got rescheduled and postponed. However, as a result I got some new footage with my mom and brother in San Francisco driving through The Castro, Twin Peaks, Ocean Beach, Golden Gate Bridge, seeing cathedrals, filing music jams at home with my brother and fireworks from my deck. Hikes around Mount Sutro Greenbelt and Kite Hill also provided opportunities to test the camera rig.
- Lake Tahoe Camping Trip: This recent trip became my first real test case with the Insta360 X5, pushing me to think about shooting, editing and storytelling in new ways. Immediately upon entering the area — when I got my first glimpse of the lake shimmering in the distance — I was struck by the beauty of the landscape. But, I was driving and couldn't really look around.
The day of our beach trip, I got a ride with some friends. As soon as we drove South over the little "land bridge" between the two lakes on either side of the road (in the video), the idea struck me to capture that view — from on top of the world — on the way back. Fortunately, there was no traffic behind us, so I had time to get the camera out and start filming. I had it out and ready the rest of the way back for a few more of the shots.
At the beach, I didn't want to shoot too much. I was trying to do so discreetly but only did so twice. I'm aware of the shadow of the selfie stick in the sunlight and managed to get a panning shot and also include myself by reframing the shot just above where the shadow (of the selfie stick) hit the sand. - Upcoming Adventures: Potential trip to Rucker Lake and upcoming trip to Fiji in August will be the next labs for this evolving approach. Realistically, this latest burst of inspiration to document immersively and comprehensively has all been in preparation for a once in a lifetime family trip to Fiji. Since it got postponed, I am working on the cinematography, B-roll mentality and studying best practices, "shot rules" (9-shot rule, 70/30 principle, etc) and as many film making theory and practice lessons as possible.
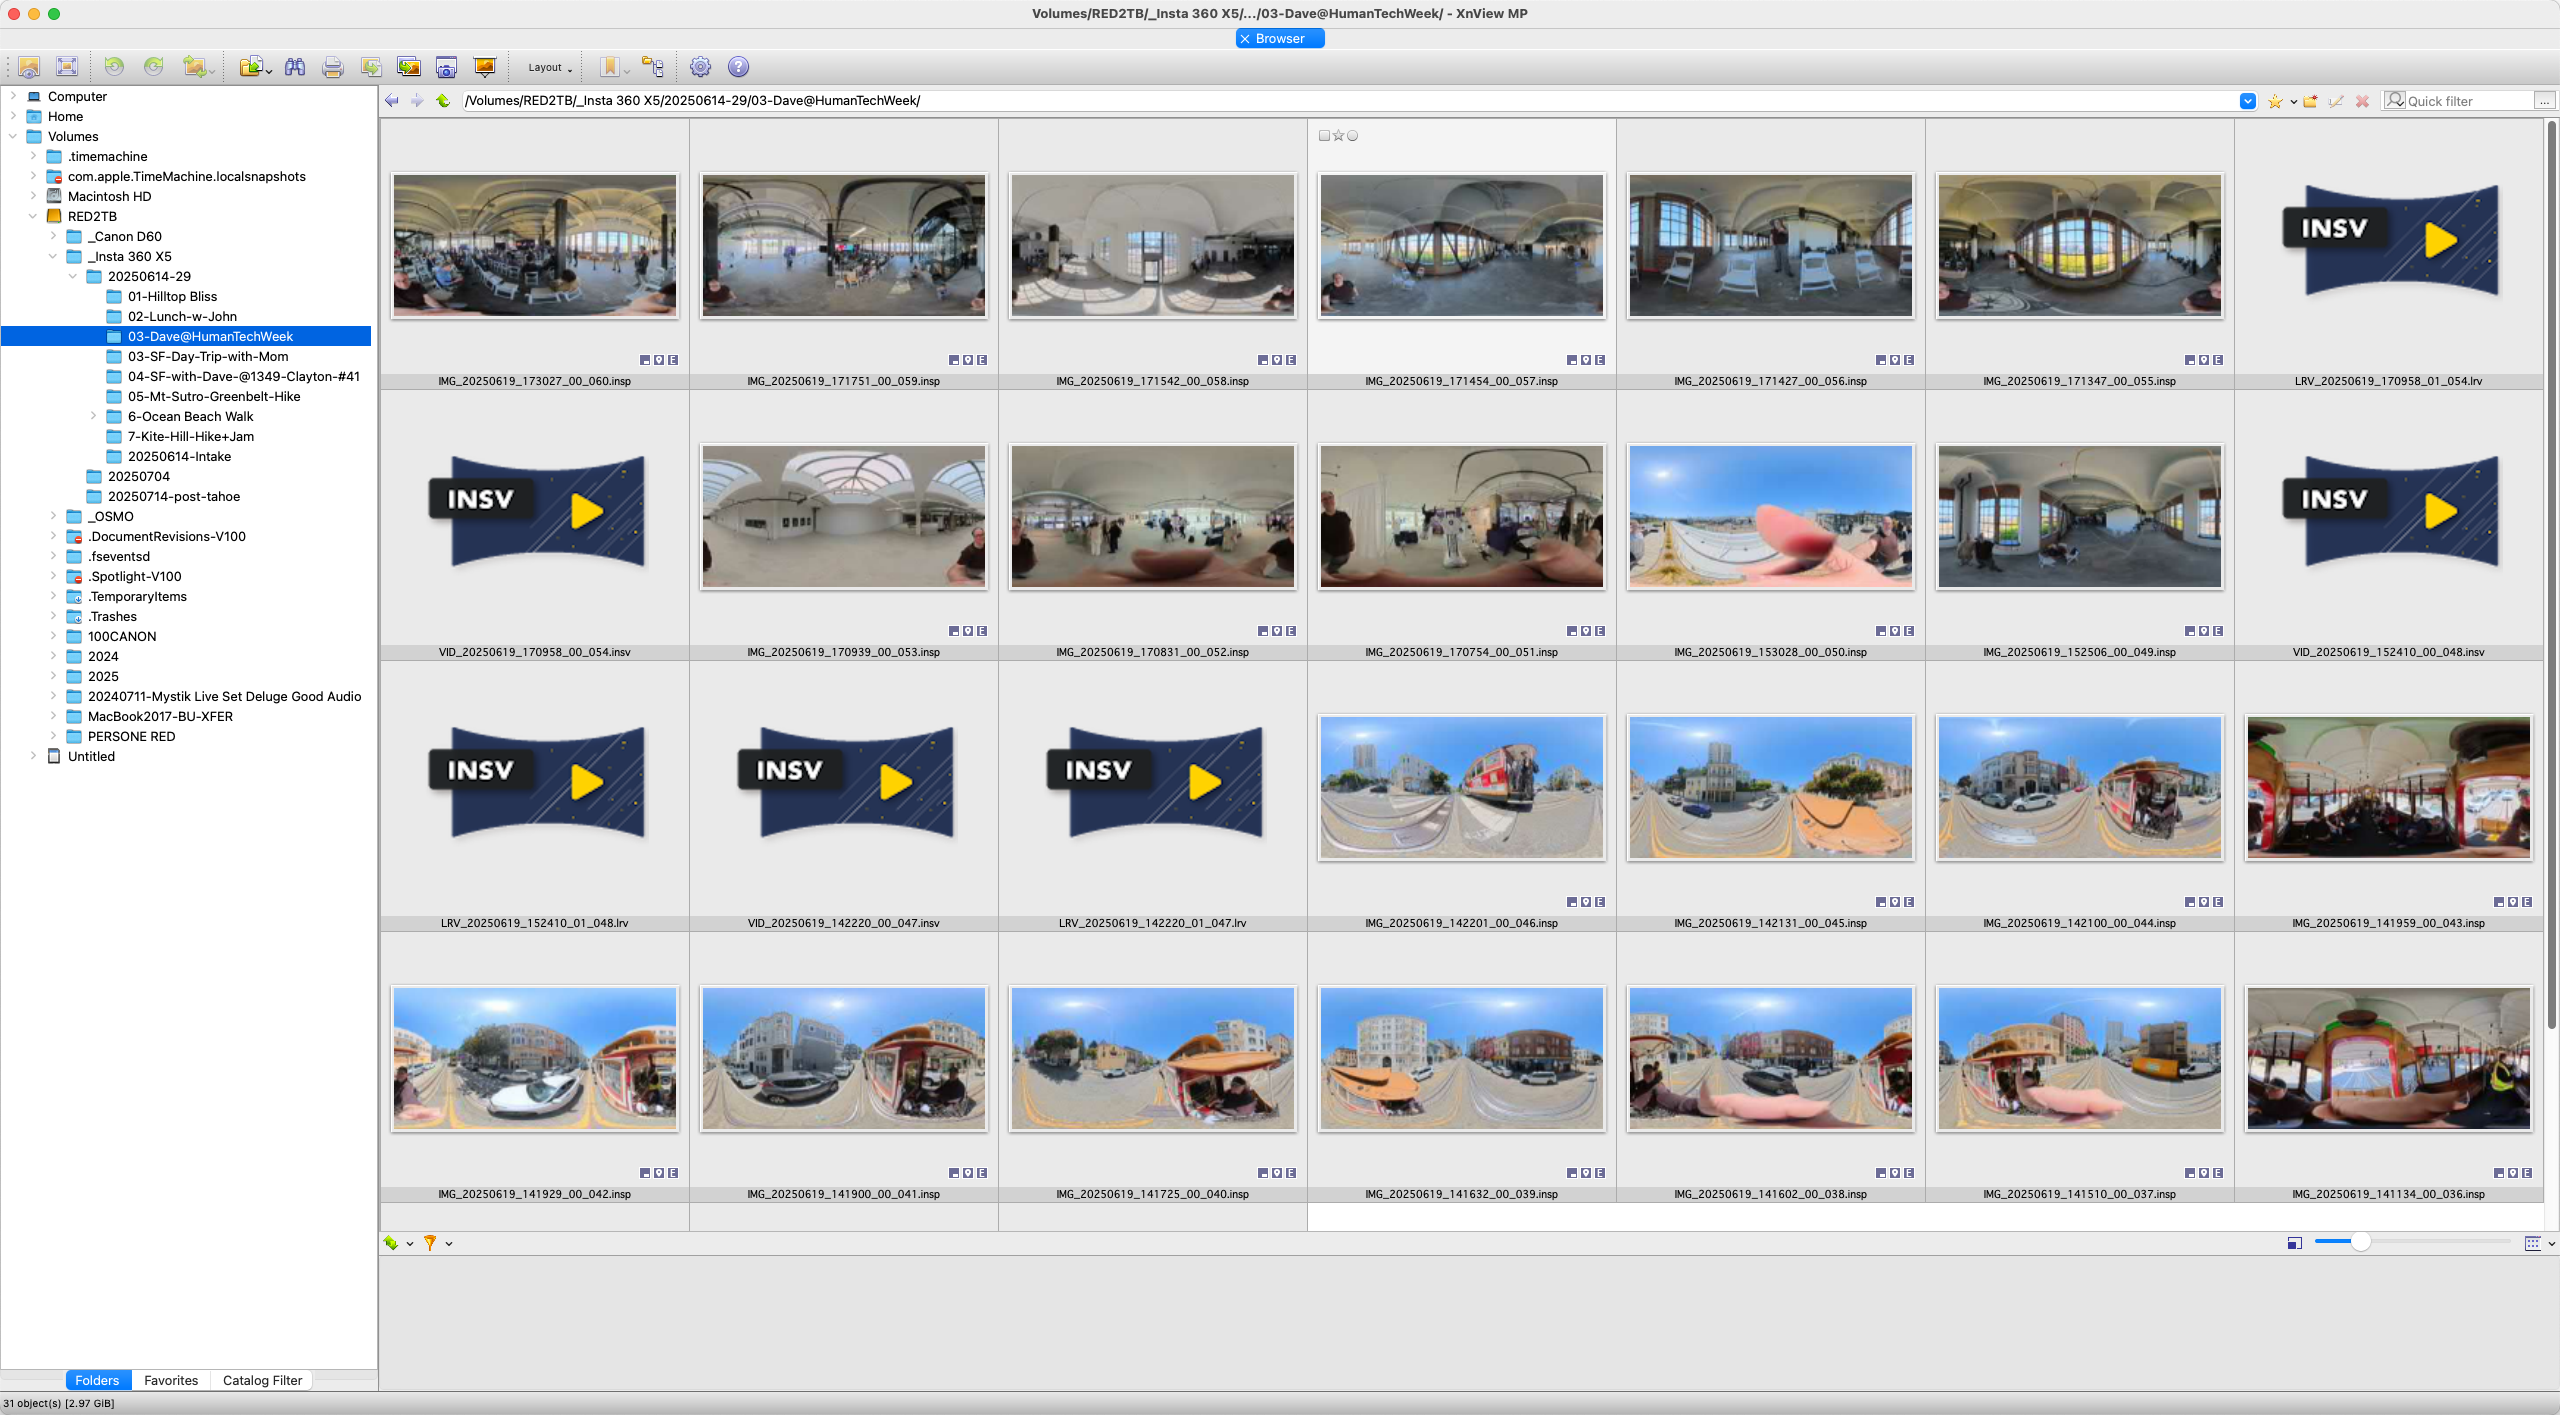
After capturing, the critical first step is getting footage organized. XNViewMP has become my go-to app for browsing imagery on disk.
3. Review
Once the shooting is done, the first post-production step is to download and review all footage. This is where I get my first look at what I've captured and start to identify the "gold" within the raw clips.
Downloading & Initial Assessment
After each shooting session, I transfer all media from memory cards to my workstation. This is a good time to check for immediate issues like corrupted files or major over/under-exposure. It's also where you realize if you missed key shots, like those unfilmed campfire moments at Tahoe that would have added great textural B-roll.
It's easy to get excited, but resist the urge to dive into heavy editing. This phase is about organization and a preliminary review, tagging promising clips and ensuring everything is securely backed up before you proceed.
One of the index sheet tools that I use all the time is called XNViewMP. My last blog post was about that app, called "Exploring XnViewMP: The Image Manager Every Creative Should Know" in case you want to check that out also. It is a great tool, free for personal use and has nice features for image browsing, tagging and batch processing among other benefits.